
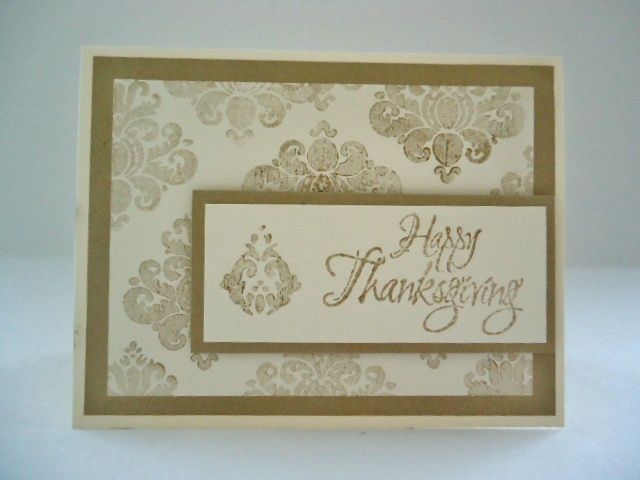
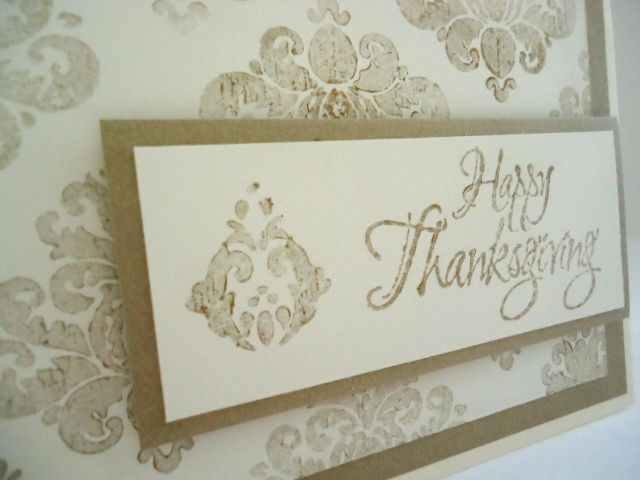
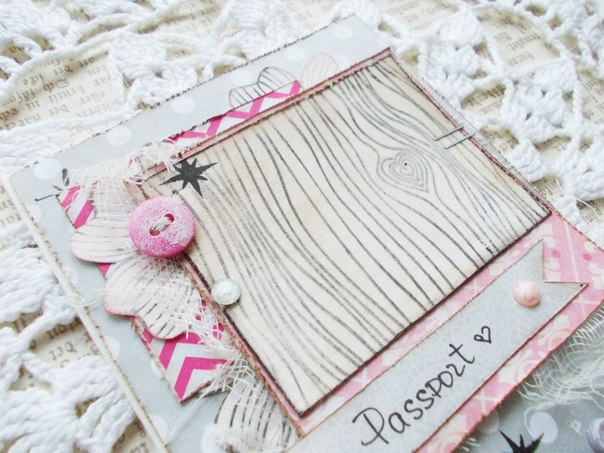
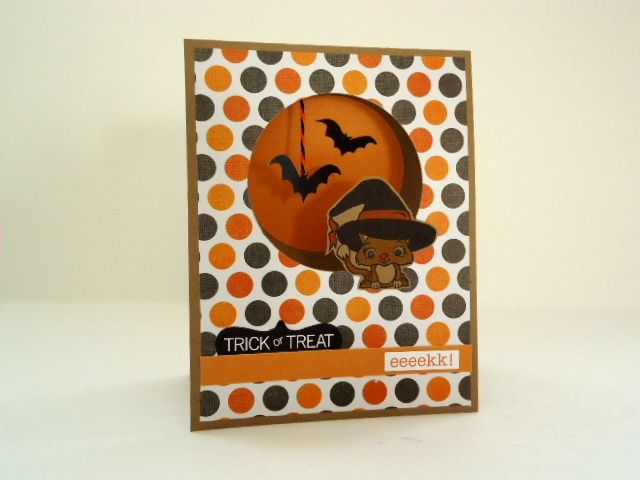
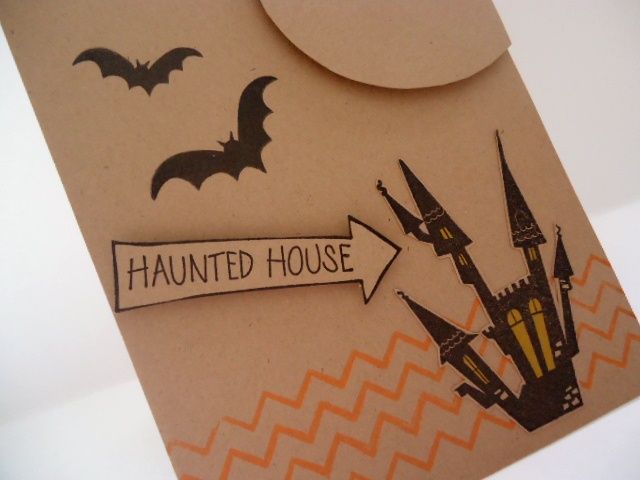
I made this Card using the gel-a-tins 'Halloween Greetings' stamp set. This
fabulous set comes with two sentiments, four super cute mini stamps of a moon,
pumpkin, bat and a ghost and three fabulous backgrounds. The backgrounds are
amazing for layering with the sentiments.
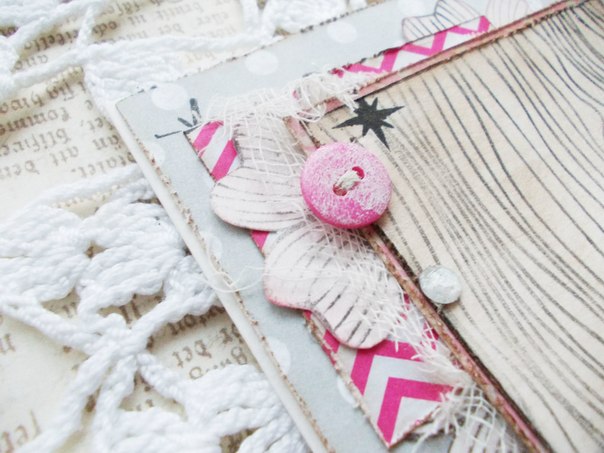
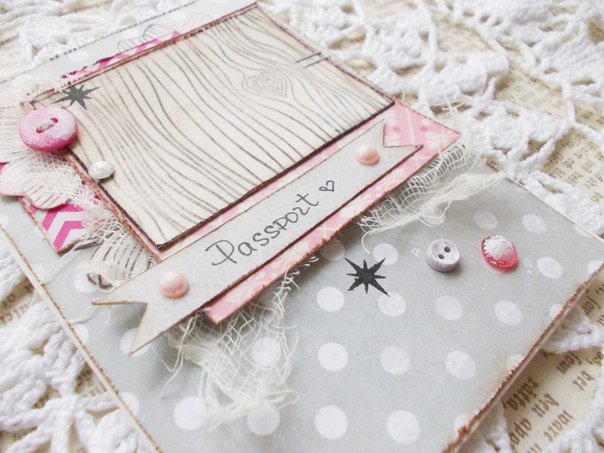
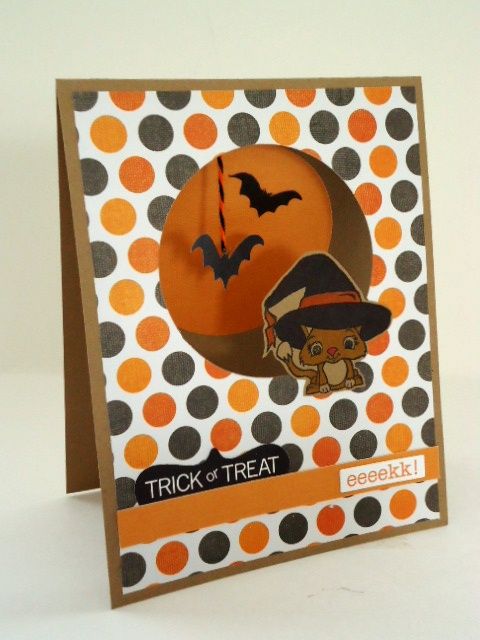
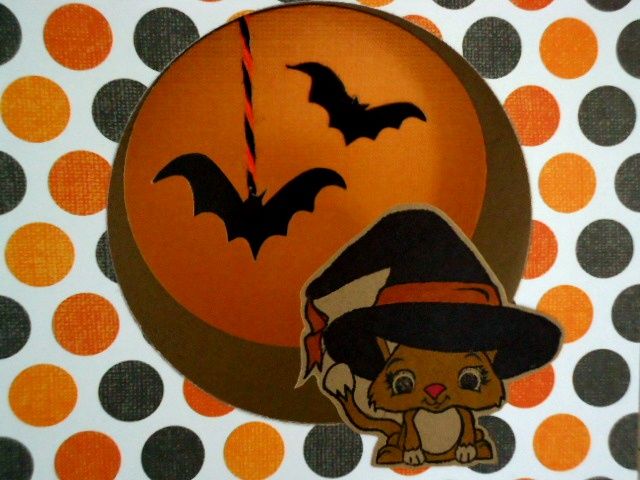
My third project this month is a Kitty Card
")
Products Used
gel-a-tins 'Halloween Greetings'
K&Company Jen Yanok Halloween
Xyron Mega Runner
Websters Pages Trim
Doodlebug Trim
Black Staz-On ink
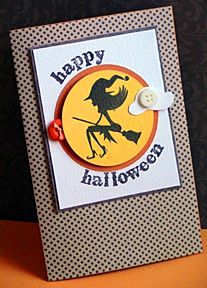
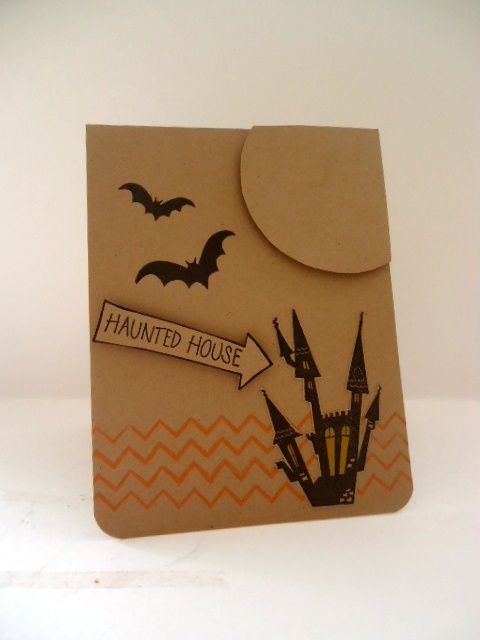
How It's Made
Matt and Layer the base papers, rub the paper edge with the ink pad
")
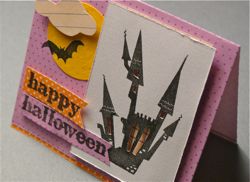
Create the topper using the gothic 'Happy Halloween' and rub with the black ink pad, put a pumpkin in the corner
")
Make a bow with the black ribbons and hold in place with the Xyron Mega Runner
")
Place the topper onto the card using foam pads.
")
And there you have it!
My third project this month is a Kitty Card
Products Used
gel-a-tins 'Halloween Greetings'
K&Company Jen Yanok Halloween
Xyron Mega Runner
Websters Pages Trim
Doodlebug Trim
Black Staz-On ink
How It's Made
Matt and Layer the base papers, rub the paper edge with the ink pad
Create the topper using the gothic 'Happy Halloween' and rub with the black ink pad, put a pumpkin in the corner
Make a bow with the black ribbons and hold in place with the Xyron Mega Runner
Place the topper onto the card using foam pads.
And there you have it!
")
")
")
")
")
")
")
")
")
")
")
")
")
")
")
")
")
")
")
")
")
")
")
")
")
")
")
")
")
")
")
")
")