
Today we have cards to share with you that were made by DT members Ellen and Cherie. I don't know about you, but these projects are really making me eager to get my hands on the Chocolate Bliss and Save the Date stamp sets!
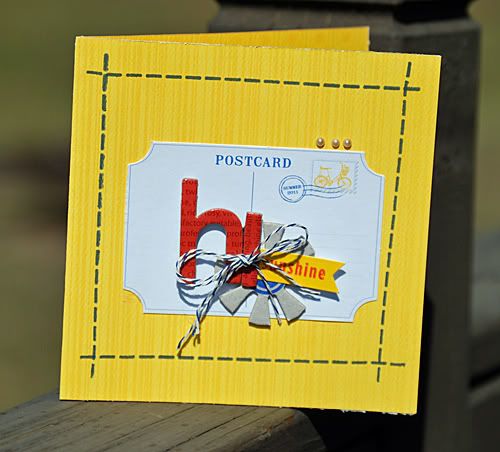
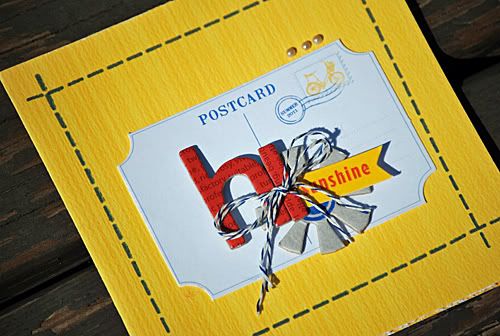
"Grab your Embossing Powder and use it as an accent and layer it over stamped images. I mixed and matched sets here...The Save the Date set and Flowers II."
Please go check out our Monthly Challenge while you're here! I love seeing our fans win!
"Grab your Embossing Powder and use it as an accent and layer it over stamped images. I mixed and matched sets here...The Save the Date set and Flowers II."
") |
| By Ellen |
Supplies:
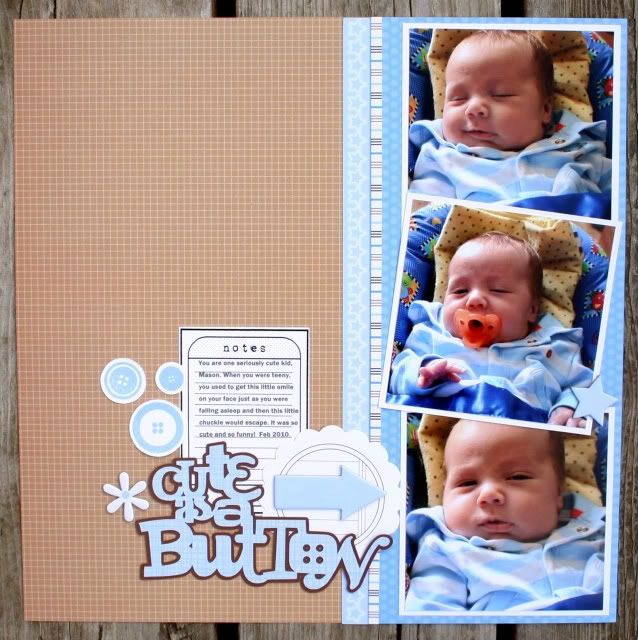
Patterned Paper: Pink Paislee
Carstock: Core'dinations
Buttons: misc
letters: Jenni Bowlin
Inks: Stampin' Up!
Patterned Paper: Pink Paislee
Carstock: Core'dinations
Buttons: misc
letters: Jenni Bowlin
Inks: Stampin' Up!
That was Ellen's project made with Save the Date, and now let's see Cherie's Chocolate Bliss card...
"I just love how well chocolates suit the Jillibean Apple Cheddar Soup collection."
| By Cherie |


")

")
")


")
")


")
")


