Thursday, May 31, 2012

Honey Bear baby gift set

Hey everyone! Thanks for joining me here again today!!

When I got my Honey Bear stamp set from Gel-à-Tins I just couldn't get over how cute that little bear was! All I could think was how he'd be perfect for a baby project. So that's what I set about making! It's always fun to try and find different uses for your stamps isn't it?!

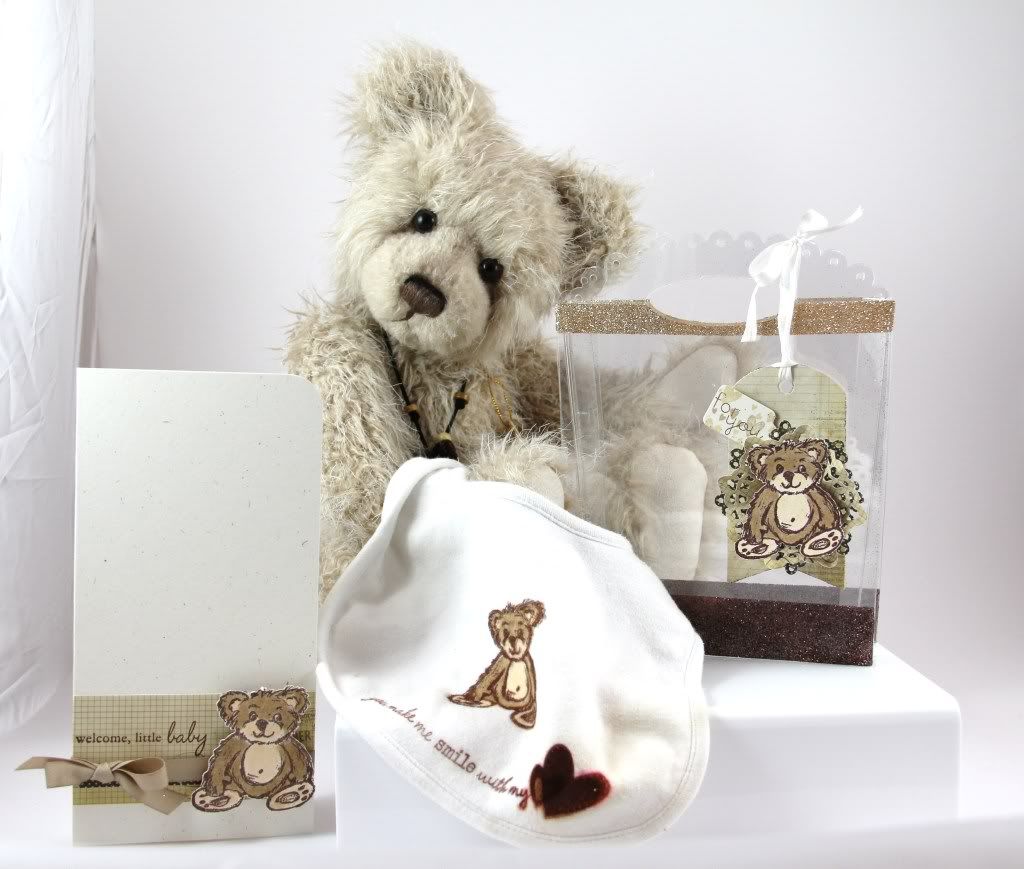
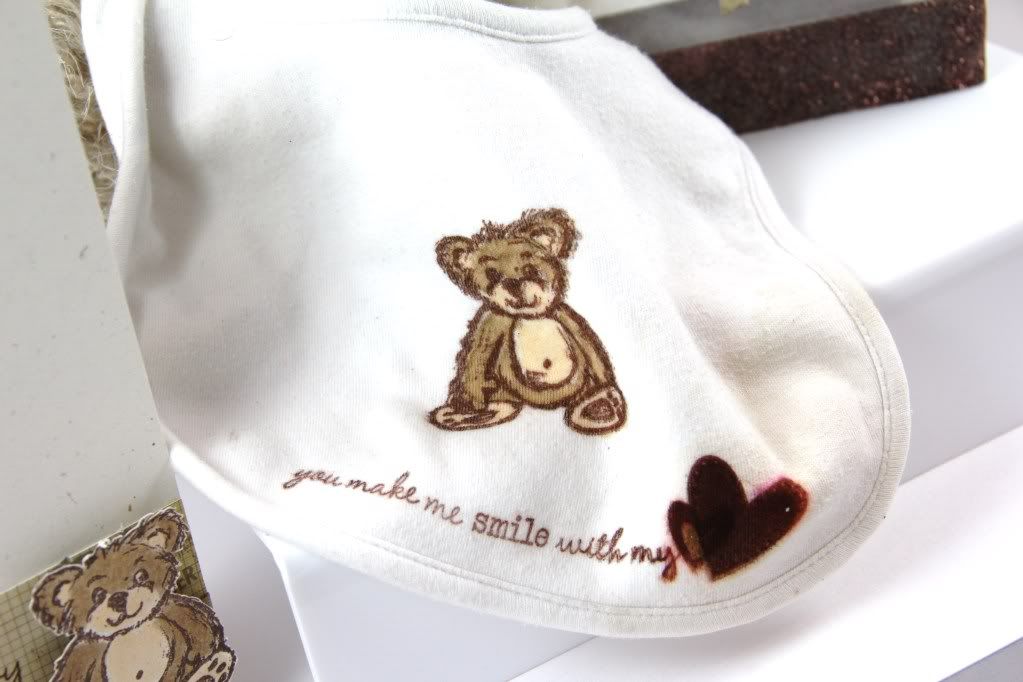
I settled on the idea of a baby bib and card gift set. I've wanted to try stamping on fabric for ages and now seemed like the perfect time!

I wanted to keep the gift set gender neutral so I settled on a colour palette of browns and creams:
Image

How cute is that?! Doesn't that little bear work perfectly for a baby project?!
Image

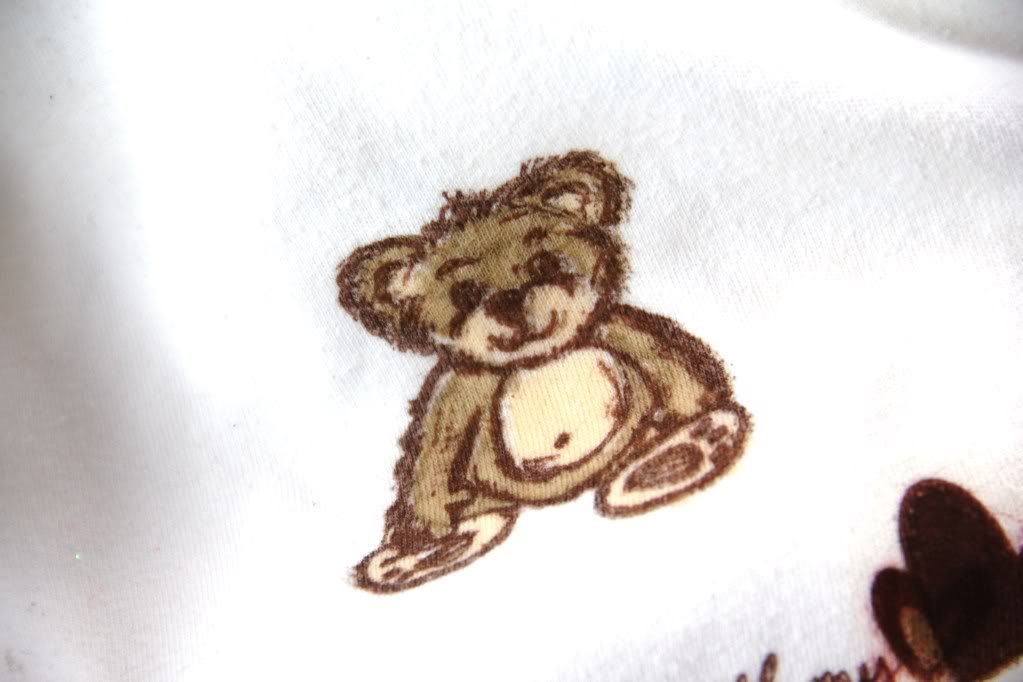
I started by taking a used, washed bib and stamping the bear in brown ink. I found that to stamp well on fabric using quite a bit of pressure and keeping the stamp on the fabric longer than you would on cardstock helped transfer the image well and give good results. You may need to stamp the image twice as well, but that's what's great about the clear stamps from Gel-à-Tins - they make that process so easy!!
Image

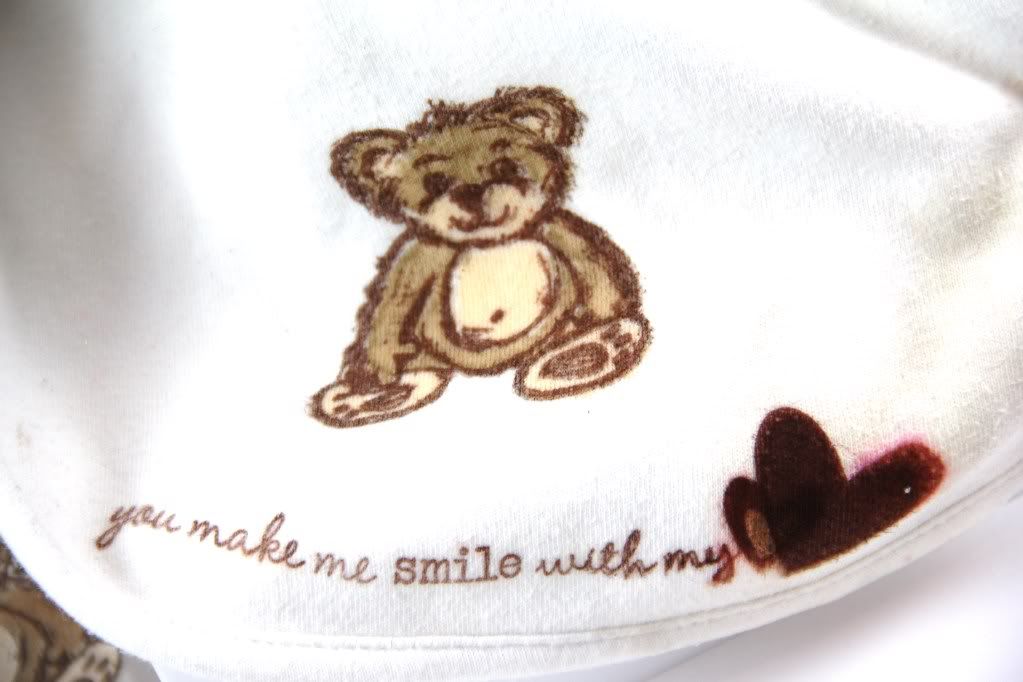
After stamping my little bear I coloured him with some Copic markers. I wanted to keep the design simple so all that was needed to finish off was a cute sentiment and some hearts. So adorable!!
Image

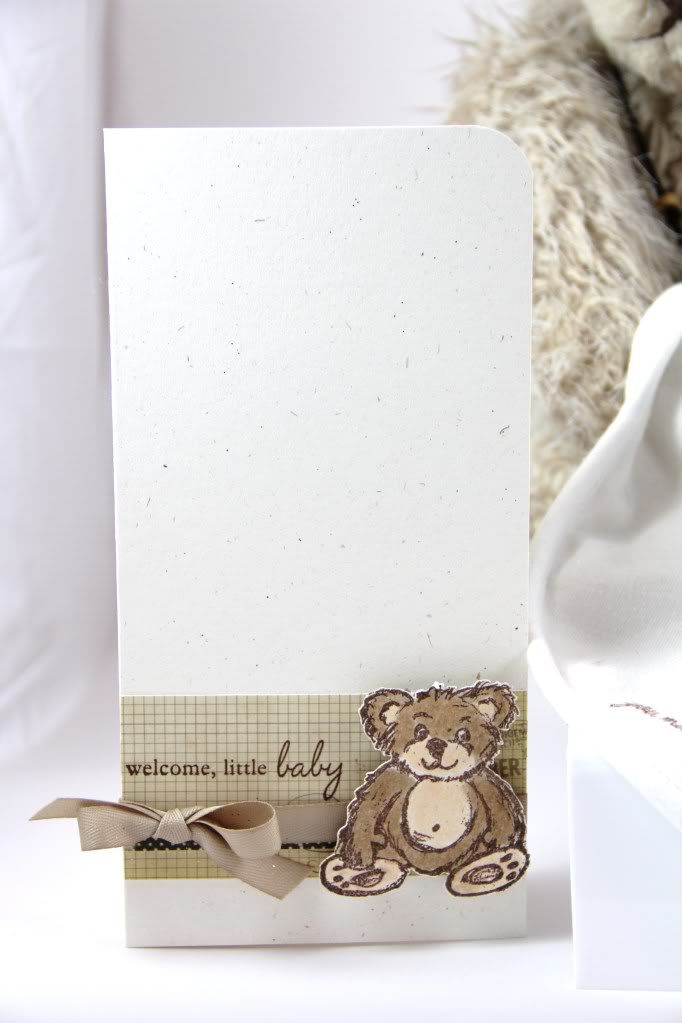
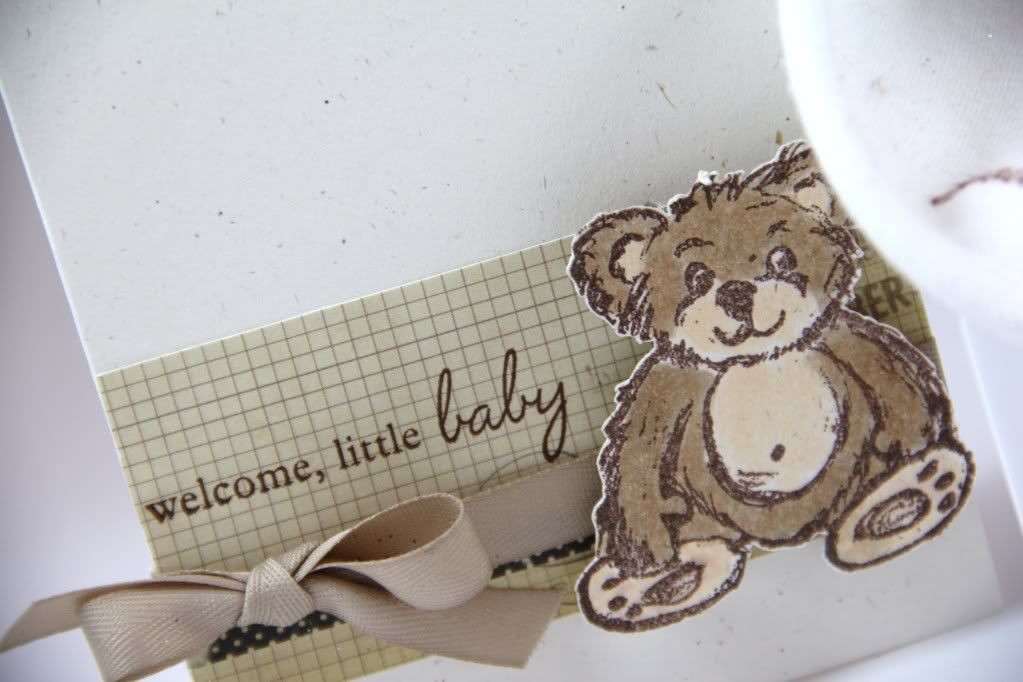
I didn't stop there and created a cute little card to accompany the set:
Image

I used that adorable little bear again and kept the design fairly CAS, accenting only with some patterned paper and ribbon in co-ordinating colours.
Image

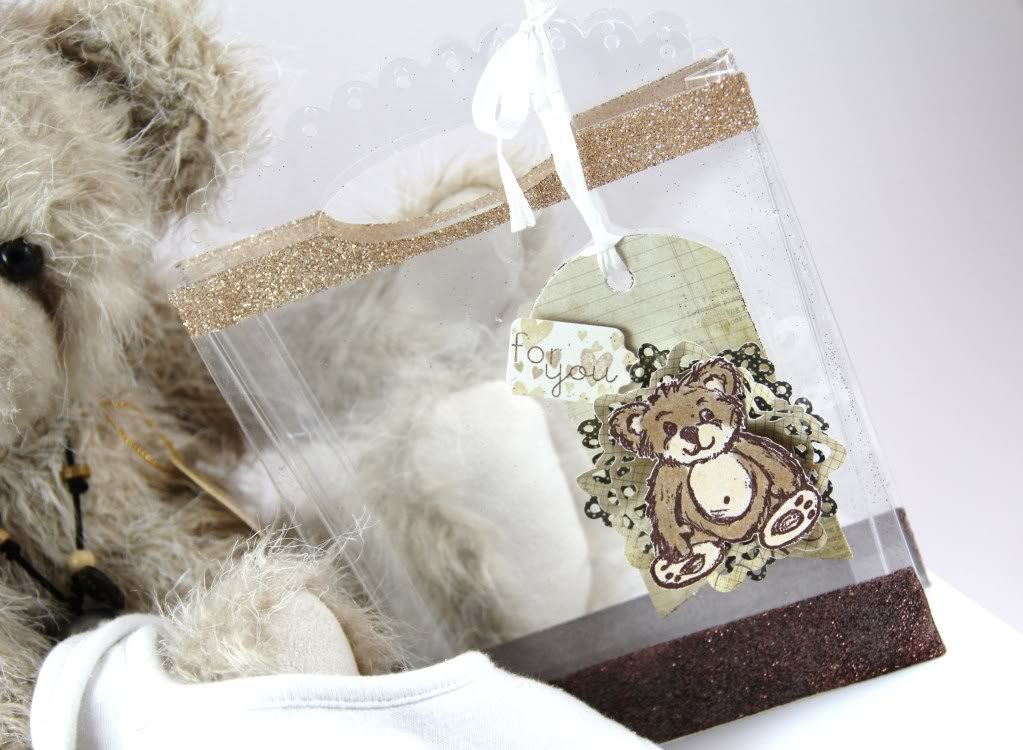
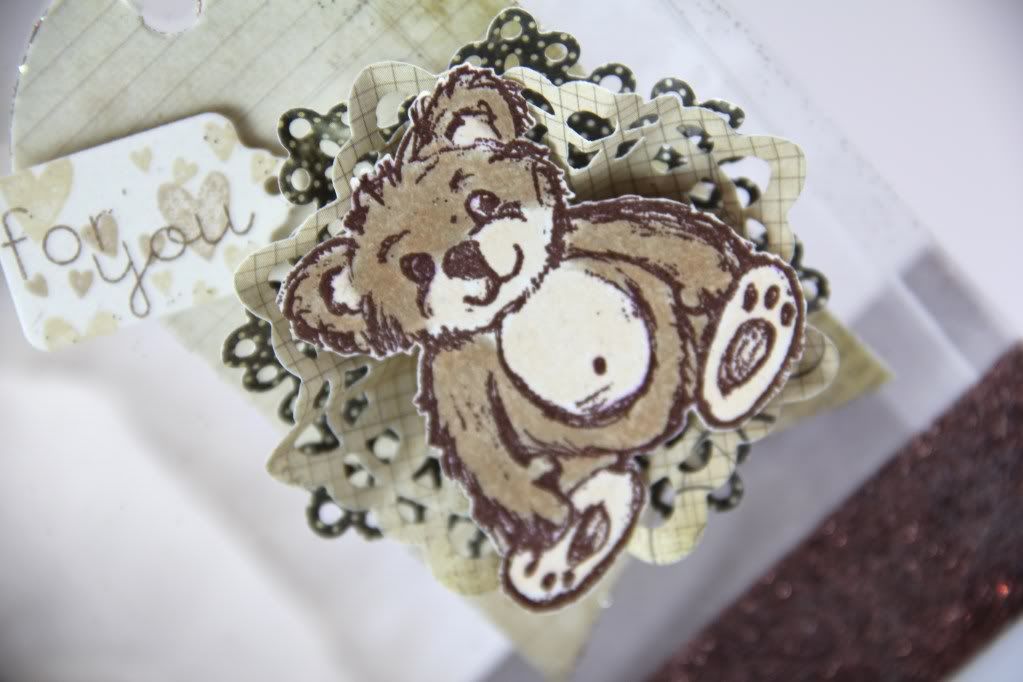
No gift set is complete without some cute packaging! I set about creating a little clear gift bag, embellished with glitter and adorned with a matching bear tag!
Image

Doesn't he look all cute and perfect?
Image

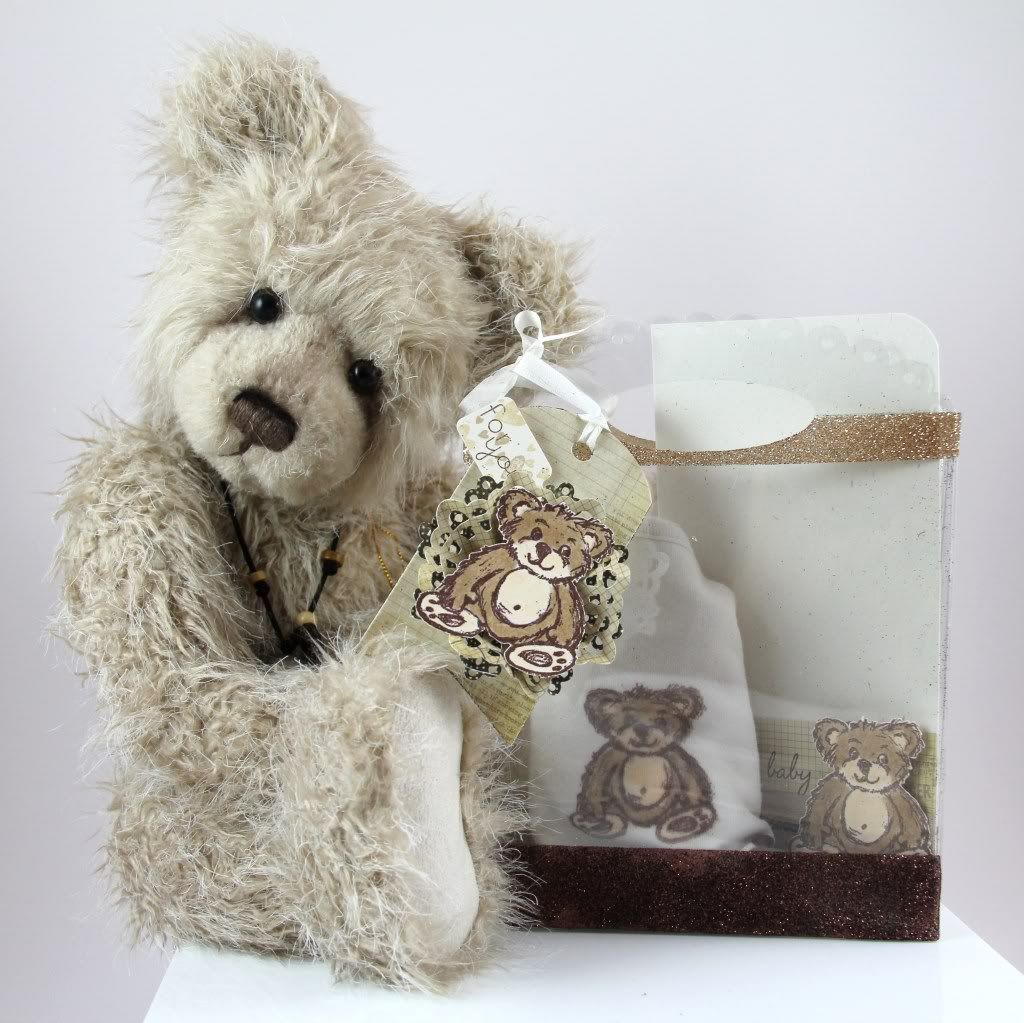
Here's the set all packaged up, all ready to give to a lucky recipient:
Image


Supplies Used:

Gel-à-Tins:
Honey Bear

Other:
Half Pint Heroines (Waltzingmouse Stamps)
Simply Valentine, Baby Button Bits, Fillable Frames #5 (Papertrey Ink)
Dark Chocolate ink (Papertrey Ink)
Rustic White cardstock, Clear Cardstock (Papertrey Ink)
Dies (Papertrey Ink)
Kraft Twill Ribbon, Silk Ribbon (Papertrey Ink)
Patterned Paper (Simple Stories)
Glitter (Martha Stewart)
Copic Markers
Corner Chomper

I'd love to hear what you think about this cutie little set!! Do you ever find some fun alternative uses for your sets? I'd love to hear about it!! Thanks so much for stopping by!!

Wednesday, May 30, 2012

A sweet set of cards!

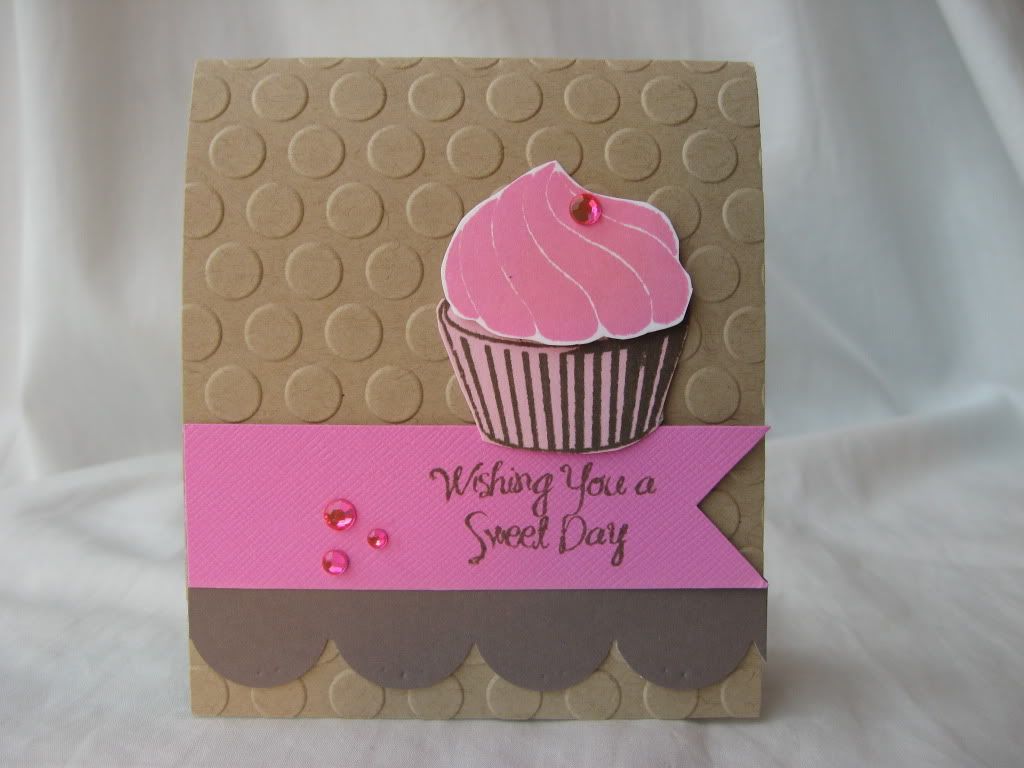
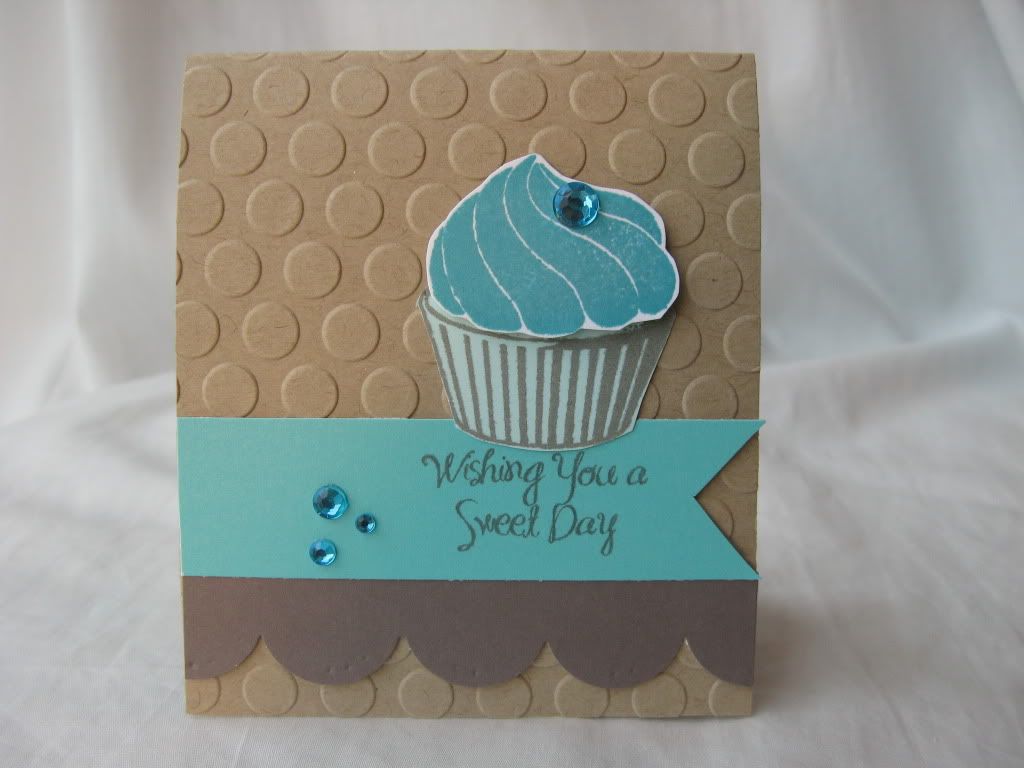
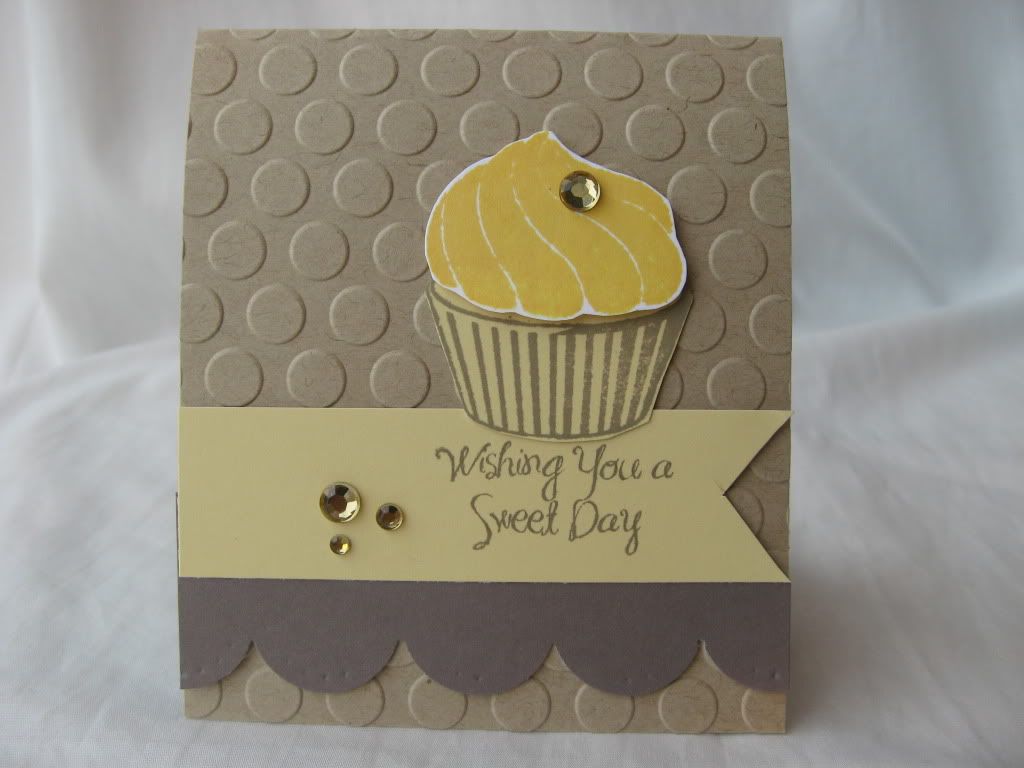
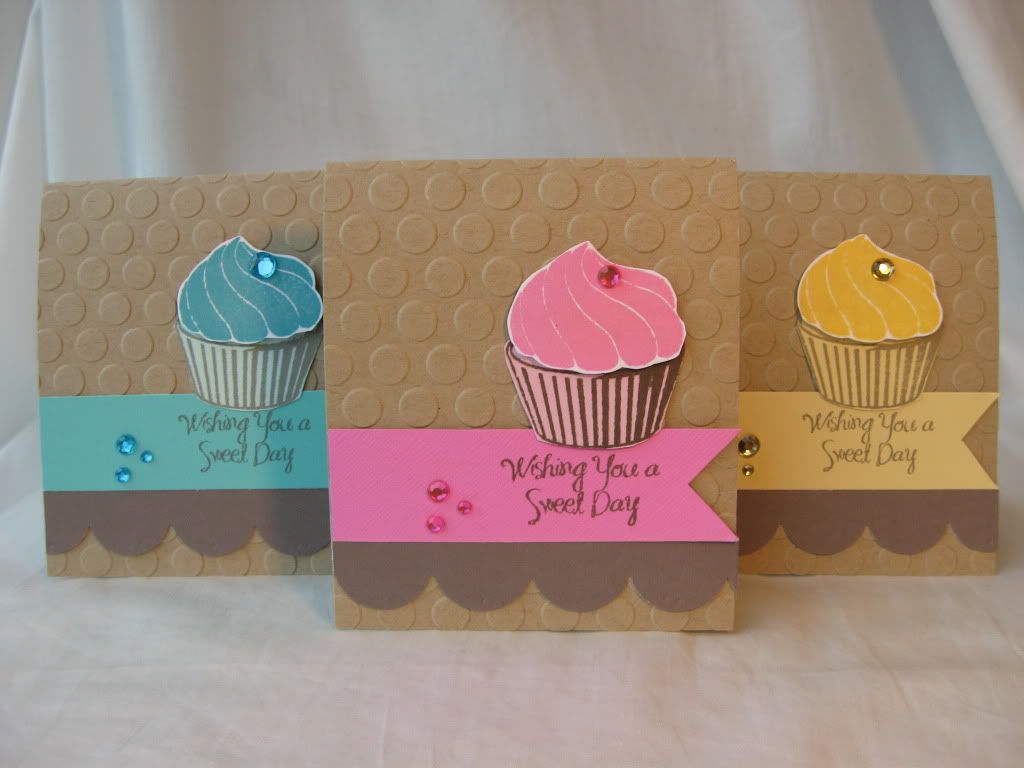
Hello! It's Anita here from http://craftygrldesigns.blogspot.com! Hope your having a great day! Today I have a sweet card set to share with you using the Sweet Cakes stamp set! I took a kraft 8.5 by 11 sheet and cut it into 3 cards (3.60 by 4.25 inches) And got 3 mini cards from it and made this set! I find it hard to keep up with all the kid birthday parties so I love to make birthday card sets, may as well make several at once!

Image


I stamped the cupcake tops in some fun colors and the bottom cup in lighter colors. I like to think that the flavors are strawberry, banana (vanilla is so boring) and blueberry!!! I embossed the kraft cardstock with a dot folder to add some fun! Made a banner for the sentiment and punched a row of scallops in chocolate! Added some rhinestones because they add so much! Here are some close ups!
Image

Image

Image


And that's it from me! Hope you've enjoyed this set!

Supplies Used:

Gel a Tins Sweet Cakes Stamp set

Other Supplies:
Kraft Cardstock by Bazill
Other cardstock Arts and my mind's Eye
Butterball, bubble gum, splash inks by Hero Arts

Tuesday, May 29, 2012

Thank You card by Tanya

Hi everyone!
I`m very happy to start create with a gel-a-tins stamps!They are really amamzing!
So today I want to show you my first project.

Image

Image

Image

Image

Image

HOW IT`S MADE

Initially, I prepared two billet for cards of cardboard binding. Start by decorating the first side.Stamped "Love Knots" and cuted a few pieces of paper.Toned edge of each paper detail. Made a sign and picked up the tone of paper ribbons.Made holes for silk ribbons. Finally decored card with defferent buttons. For the inside, I picked up the paper, cut a few pieces and flags,toned edge of all the details . Made a second stamp of Love Knots and made a new stapms of few small stapms from set Unbeleafable.Finally I decored card with buttons, lace, liquid pearls, flower and ribbons.

PRODUCTS USED
gel-a-tins "Unbeleafable" Clear Stamp Set
gel-a-tins "Love Knots" Clear Stamp
MME paper
Pion Designs paper
BoBunny paper
Buttons
Silk ribbons
Lace
Prima Chalk Ink Edger Branch Bark
Ranger Petal Pink Liquid Pearls


I hope you like it :)
Thank you for stopping here!

Monday, May 28, 2012

Happy Mustache Monday!

Hello everyone! For those of you in the US, I hope you are enjoying your holiday weekend. I know I am enjoying all of the sunshine here in Michigan.

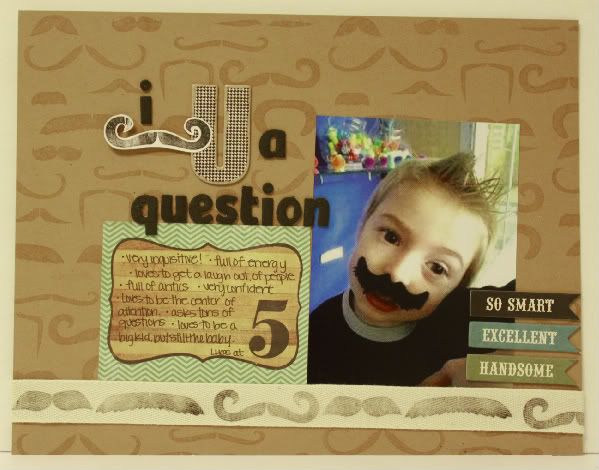
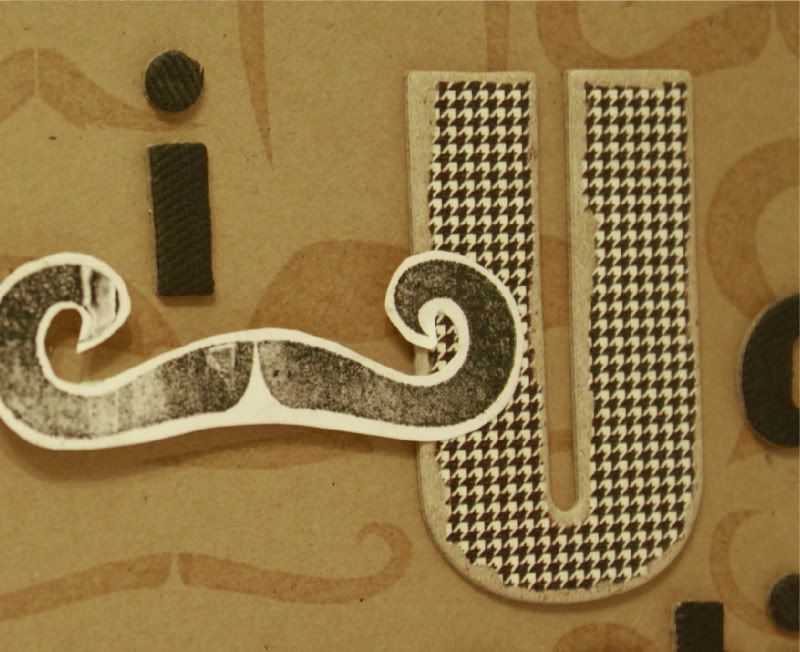
I created this layout of my friends son using the Mustache Mania stamp set. I loved using it to create this layout because it allowed me to make several pieces to coordinate with his picture!

Image

Supplies:
Mustache Mania stamp set - gel-a-tin stamps
watermark ink - versamark
black ink - studio g
Twill tape - Stampin' Up
black alphas - American Crafts thickers
journaling spot and word banners - echo park This and That Charming line
U - pink paislee

Image

I had fun with the Mustache Mania stamp set! First, I stuck the mustache stamps all over my acrylic block to create a fun background stamp and used Versamark ink to create a tone on tone background paper. I then stamped a mustache in black ink onto cardstock and cut it out. To get a more worn out look with my image, I first stamped onto scrap paper, then onto the cardstock.

Image

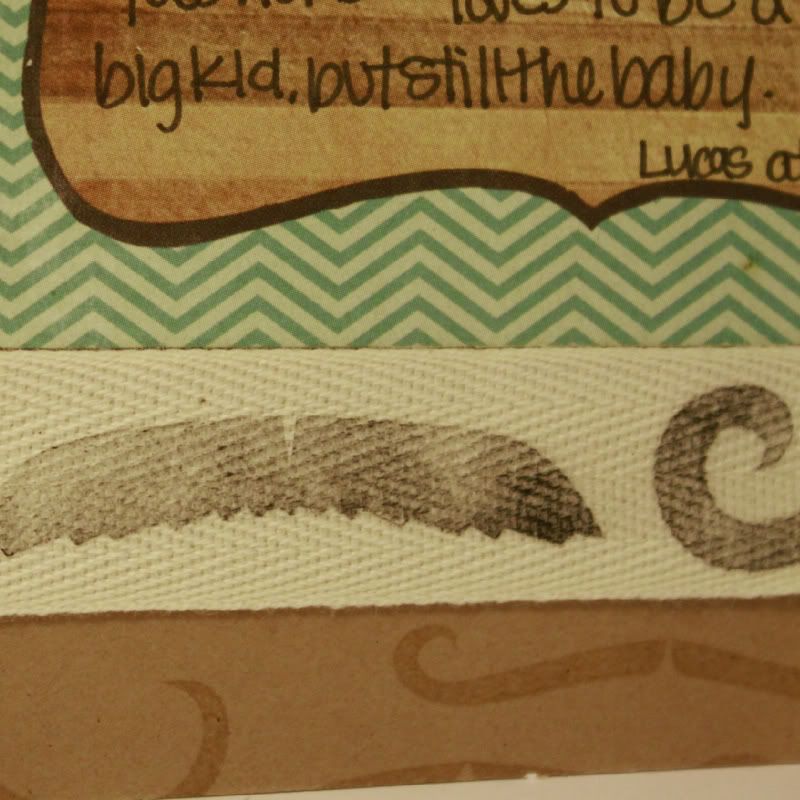
I also used the stamps again to create a patterned ribbon. I used repositionable adhesive and stuck the ribbon down to my work surface. I then added my three favorite stamps to my block. I then stamped the images repeatedly on the ribbon.

One of my favorite things about gel-a-tins stamps is that I can add a bunch of the stamps onto the block so that I can stamp a few times and get multiple images. It makes it so that I can get the effect I want without having to stamp each image individually. It makes stamping a background paper a lot faster!

Saturday, May 26, 2012

Be unique!

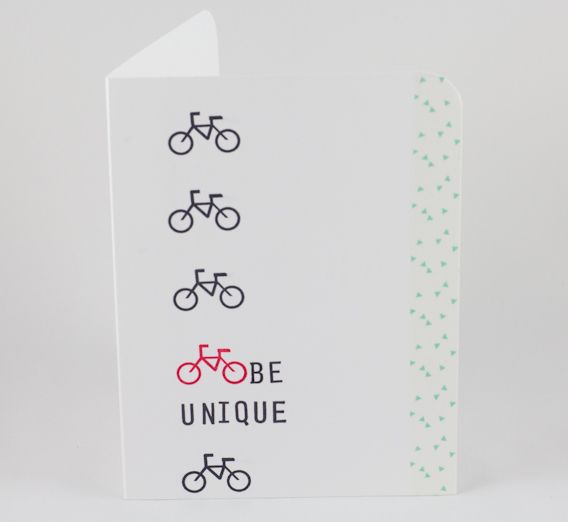
Hello everyone! Nina here with another card made with Gel∙à∙tins Traffic Signs stamp set.

I went with a clean and simple look this time :)

Image

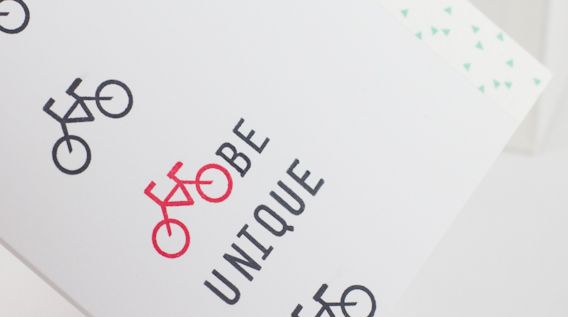
Besides the road signs, this set also includes a full alphabet set with numbers and punctuation marks. The letters are perfectly sized for using as sentiments on cards!

Image

Supplies:
Stamp: (bike and sentiment from Traffic Signs) Gel∙à∙tins
Ink: (tuxedo black, ladybug) Memento
Washi Tape: (may kit) Studio Calico
Punch: (1/2" corner rounder) We R Memory Keepers

You can find more details on this card on my blog here

Happy Crafting!Ni

Friday, May 25, 2012

gel-a-tin jewelry!

Hi, everyone. This is Kim F. I hope your week is going well. I am ready for the weekend!

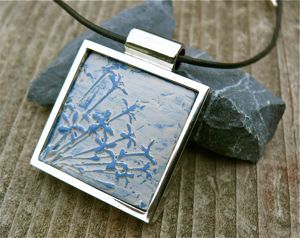
One of my favorite ways to express my creativity is to make jewelry. Here is a necklace I created using the Unbeleafable Stamp set. A simple technique that is fun and fashionable.

Image

To begin, choose a color of oven bake clay. I used Premo! by Sculpey in Denim Blue. Work a small piece until it becomes soft. Roll it into a ball and flatten to about 1/16 of an inch. Choose a stamp from the collection and put a small amount of cooking spray on the surface. This will prevent the stamp from sticking to the clay. Then simply press the stamp into the clay. Carefully remove the stamp. Immediately clean off the stamp with a baby wipe.

To give your pendant a finished look, use a bezel setting such as this one by Lisa Pavelka. Using a craft knife, trim your stamped clay to fit inside. Bake your piece (just the clay, not the bezel) according to the package instructions.

Once your piece is cool, cover the front with white acrylic paint. Let it dry a bit. Then take a damp paper towel and lightly wipe away some of the paint from the raised surfaces. This will bring out the detail of the stamped design.

Add your piece into the bezel. The clay can be sanded around the edges if the fit is not quite exact. You can also use adhesive made for clay to keep the piece secure.

Hang the pendant on a jewelry cord and you are ready to go!

Supplies:
Gel-a-tins Stamp Set: Unbeleafable

Other:
Premo! Sculpey Oven Bake Clay in Denim Blue
White Acrylic Pain by Martha Stewart
Silver Square Bezel by Lisa Pavelka
Black Jewelry Cord with Clasp (found at a bead supply store)

Thursday, May 24, 2012

Have a wild birthday!

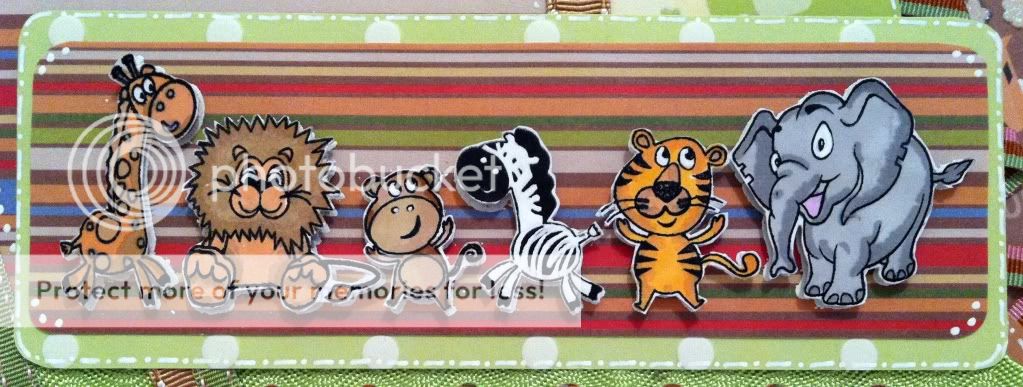
Once again I have used the 'Safari Friends' stamp set from gel-a-tins, for this project I decided to make a Birthday Card. These cute little animals are perfect for creating a wildlife scene, children's finger puppets, name tags for school supplies, badges, fridge magnets and more. Below is a list for supplies and all you need to create this fun card that kids will go wild for! To purchase the 'Safari Friends' stamp set go to http://gelatinstamps.com/

Image

PRODUCTS USED
gel-a-tins 'Safari Friends' Clear Stamp Set
DCWV Nana's Kids Stack
Letraset Promarkers
X Cut 'Cloud' decorative scissors
X Cut 'Bell' decorative scissors
Fiskars 'Clouds' paper edger scissors
Uni-ball Signo white pigment ink pen
Ribbons from Stock
Brass ribbon end crimp from stock
Brass heart from stock
8" x 8" docrafts papermania brown plain cards
docrafts Papermania 'Birdsong' adhesive letters
docrafts Papermania 'Liqourish' adhesive letters
Xyron Mega Runner
Xyron 150 X
Foam Pads

HOW IT'S MADE

Cut three 8"x8" pieces of paper from the DCWV Nana's Kids Stack.
Using the decorative scissors edge each page on the right hand side
layer a different piece of ribbon under each piece and layer in a staggered pattern on top of each other

Image

Embellish the cut paper edges with the white pen. Use different designs on each layer.
On the front cover place a piece of patterned card at an angle and trim with co-ordinating ribbon.

Image

Using your gel-a-tins 'Safari Friends and a glue pad stamp and cover in white embossing powder create a background on a contrasting piece of paper.
Stamp the characters onto white card stock, colour with the Letraset Promarkers and cut out.

Image

Image

Image

Stick the characters on top of the heat embossed outlines with foam pads.

Image

Image

Stick the strip of characters onto co-ordinating paper and across the front of the card using the mega Runner.

Image

Apply the self adhesive lettering to the front of the card to make the greeting.

Image

Add the brass embellishments to the bottom left hand side under the character banner.

Image

Finally using the uni-ball white pen add some accents to the edges around the card to give it extra dimension.


Have a great day

Sharon

Wednesday, May 23, 2012

Miss you, Honey Bear

Thank you for stopping by Gel-a-tins today! Today I would like to share with you a card I created with the Honey Bear Set.

Image

The flowers in the Honey Bear Set were screaming for me to color them. Knowing that I am at beginner's level when it comes to using markers, I opted to break out my chalks and use them to create the flower scene. Using VersaMark Watermark Stamp Pad, I stamped the image 3 times onto cream cardstock. Using one chalk color at a time, I started to color the scene. Once the coloring was complete, I used a large die-cut to create the tag. Adding the "Miss You" sentiment from the Honey Bear Set to finalize the tag.

Image

For the final touches, I used a wood grain embossing folder to create the backdrop of the card. Deciding the card needed a pop of a brighter color, I added a strip of a reddish-pink. Topped it off with a button and raffia ribbon.

Once again thank you for stopping by! Please take a look around the blog! Our DT has been sharing some amazing projects that will hopefully inspire your creative!

Jessi P.
http://kissinkrafts.blogspot.com/


Supplies Used:
Honey Bear Stamp Set - Gel-a-tins


Other:
Echo Park This & That Papers
Inkadinkadoo Chalks
VersaMark Watermark Stamp Pad
Paper Studio Embossing Folder
Misc. Button and Ribbon

Tuesday, May 22, 2012

Monochrome Springtime Notecard Set

Hey everyone! How are you all doing? Are you ready for some more Gel-à-Tins fun?!

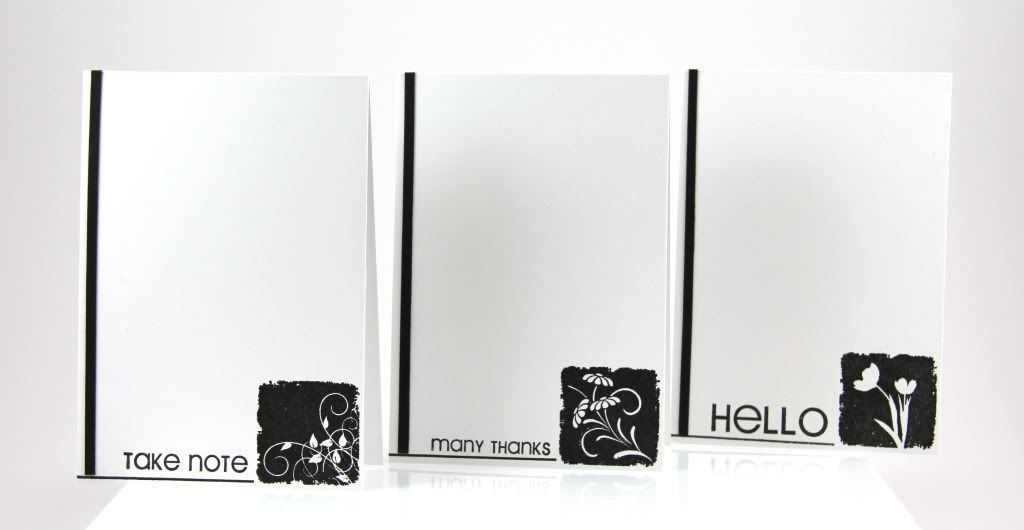
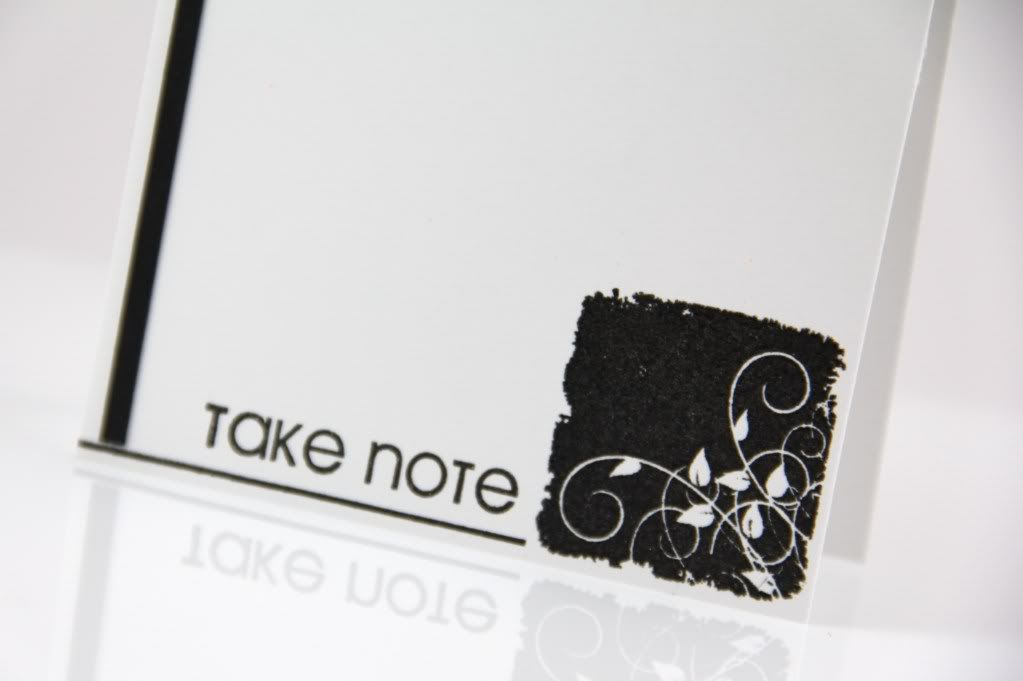
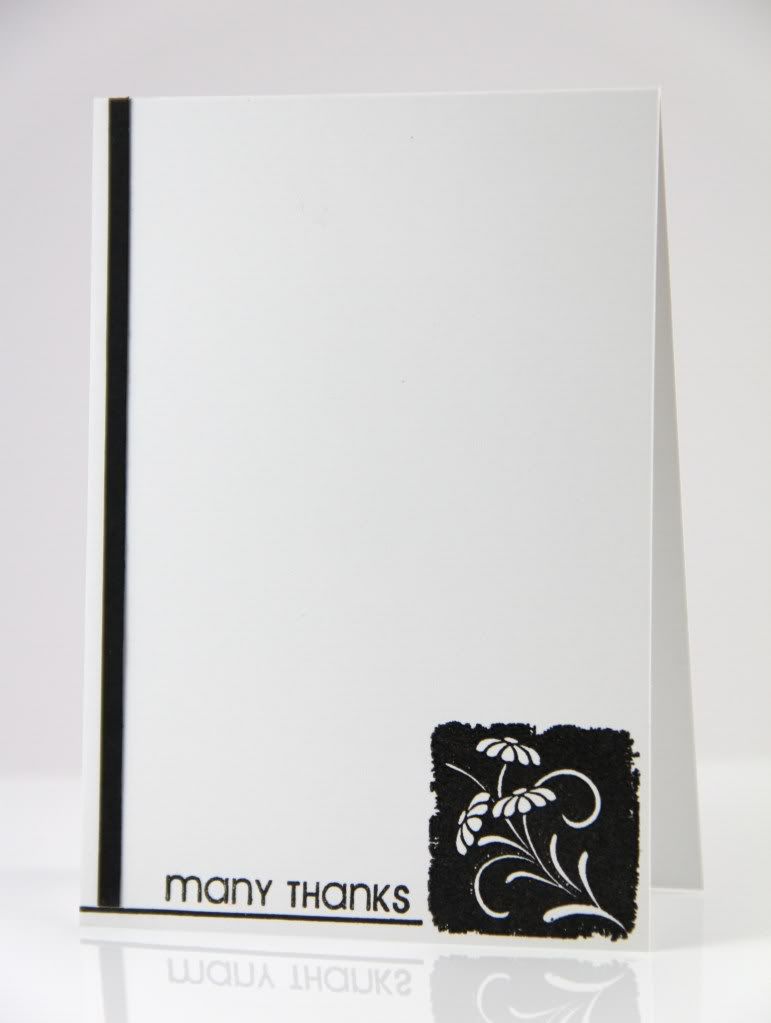
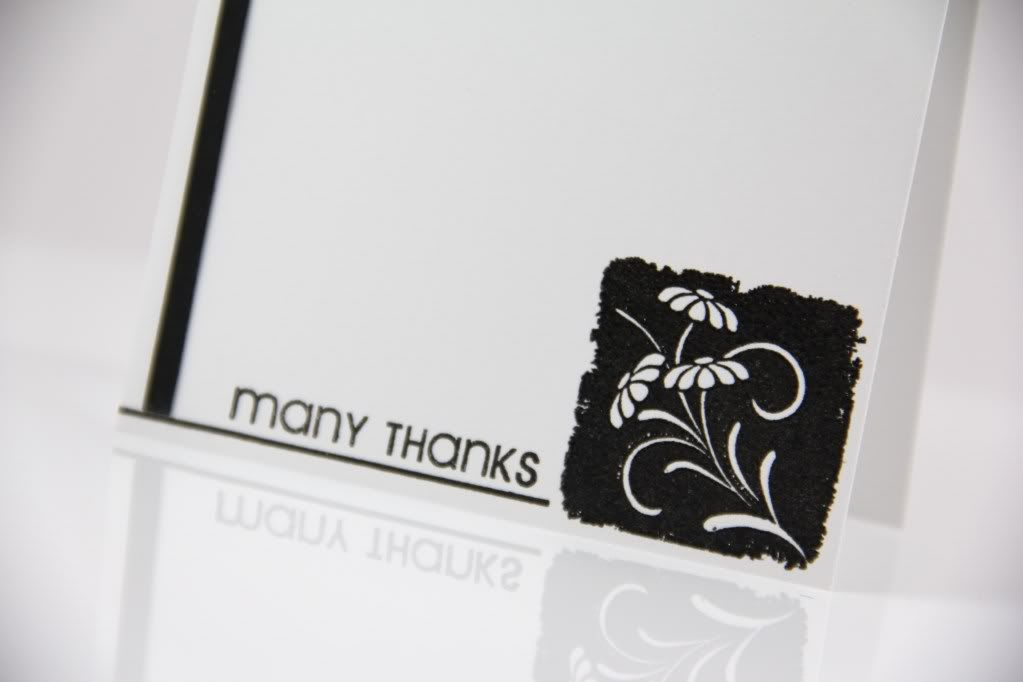
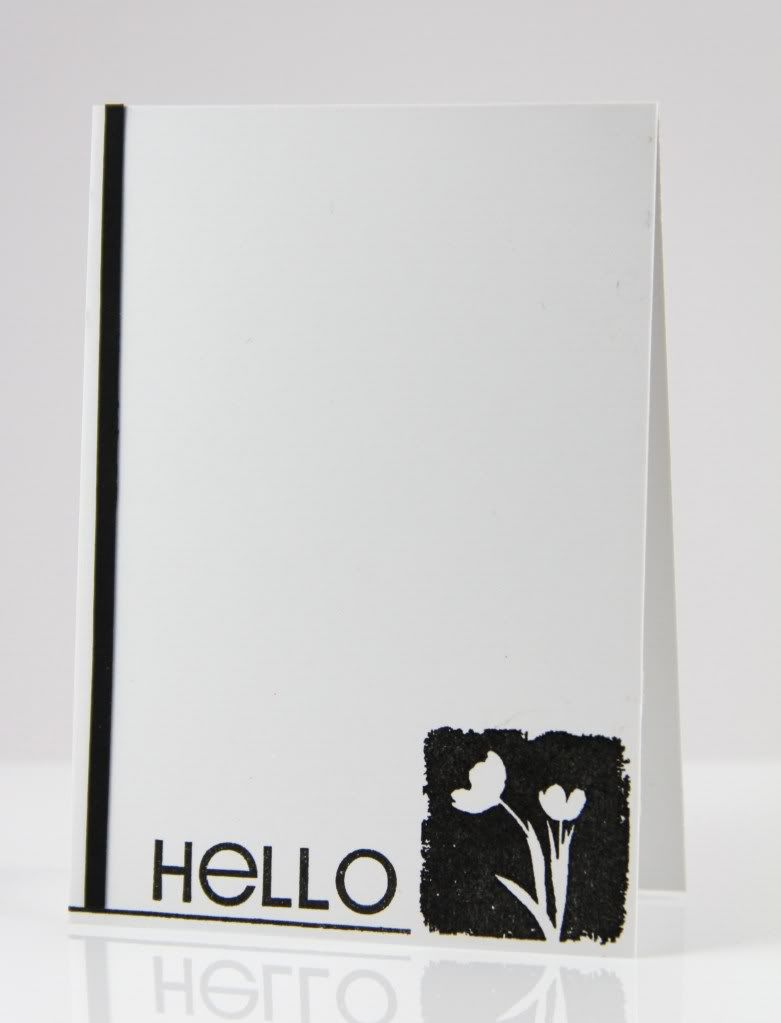
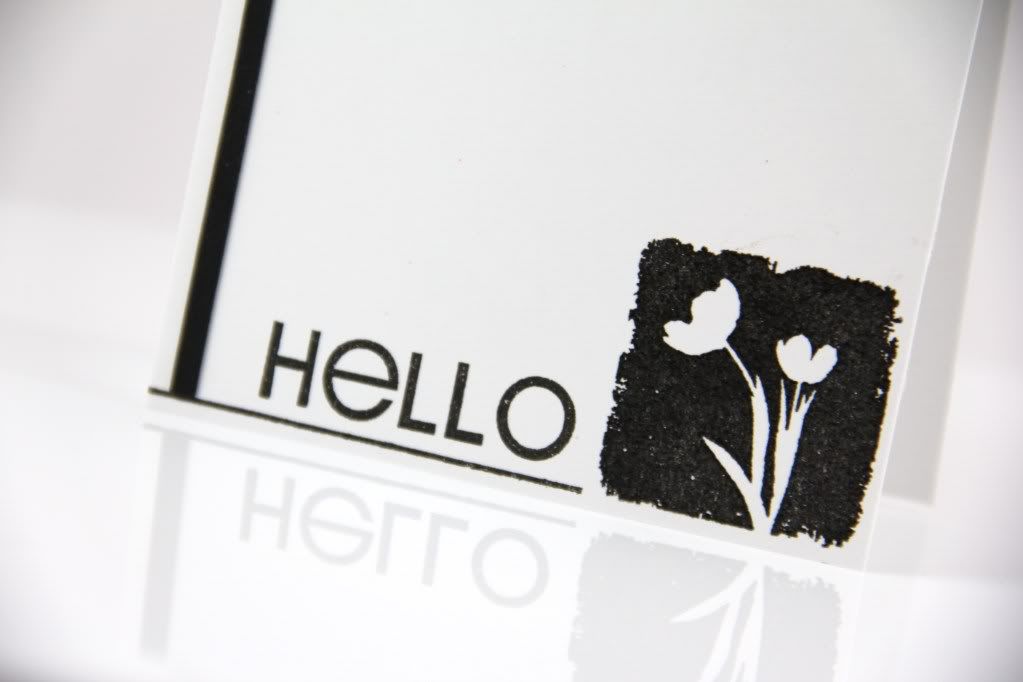
I'm back today with a little CAS notecard set I created with the really fun Springtime set. The images in this set are so perfect for creating so many different looks! I've definitely got a ton of ideas for it! The little squares are perfect for making a bold design statement and I let that dictate the style of these projects:

Image

Aren't these fantastic? I think monochrome makes such a sophisticated style statement and suits any one's tastes!

Image

I started with some white cardstock and prepared that into little 3.5"x5" card bases. The squares in this set are just a little bigger than inchie size, which makes them great for creating a smaller card, or you can always use several on one card too if you want to go with more standard dimensions!

Image

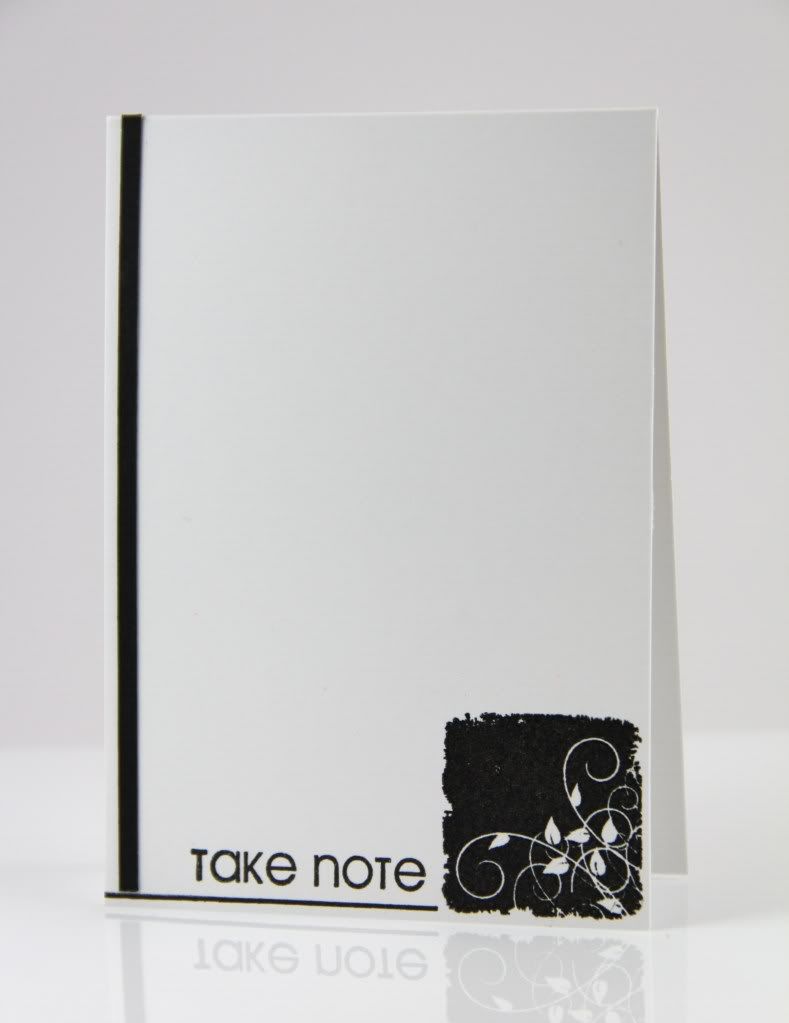
I inked up each image with VersaMark and black Versafine, then embossed with clear embossing powder so that they really gave a slick finish. I then stamped some all-occasion sentiments and a black line to accent. Finally I added a strip of black cardstock vertically for some added interest.

Image

Really a very CAS design but these pack such a punch I think! And I've already got a ton of ideas for some slight changes for when I create something similar again!

Image

The great thing about little cards like these is that they can also be a perfect gift for someone - and they take no time at all to whip up!!

Image

They're also pretty much one layer too, so they're nice and flat for boxing up and posting!

Image


Supplies Used:

Gel-à-Tins:
Springtime

Other:
Fillable Frames #1, Faux Ribbon (Papertrey Ink)
VersaMark and Versafine Onyx Black inks (Tsukineko)
Stamper's Select White cardstock, True Black cardstock (Papertrey Ink)
Clear Filigree Embossing Powder (Stewart Superior)
Scor-Tape

I'd love to know which is your favourite! Thanks so much for stopping by and I hope to see you again soon!!

Monday, May 21, 2012

A safari gift!

Hello! Happy Monday! I am excited to be here with a new project to share! Today I am featuring the Safari Friends by Gel a Tins stamp set! It's such a cute stamp set and as a mom to two young kids we find ourselves at a lot of birthday parties so I thought it would be fun to make a gift bag with it!

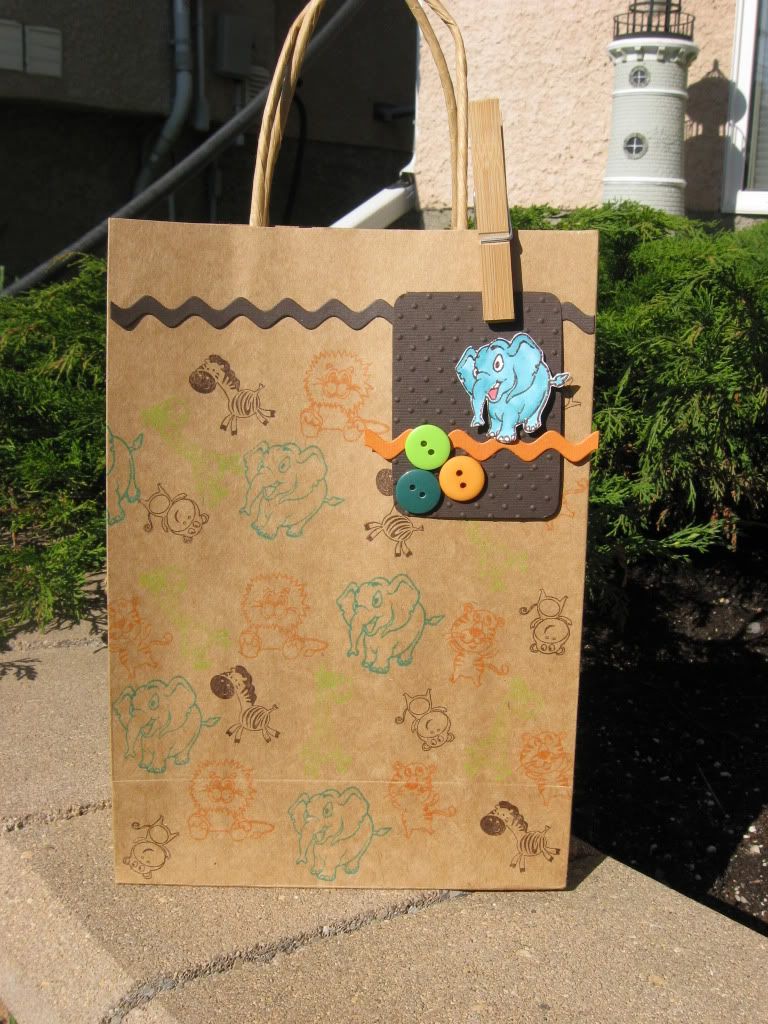
Image

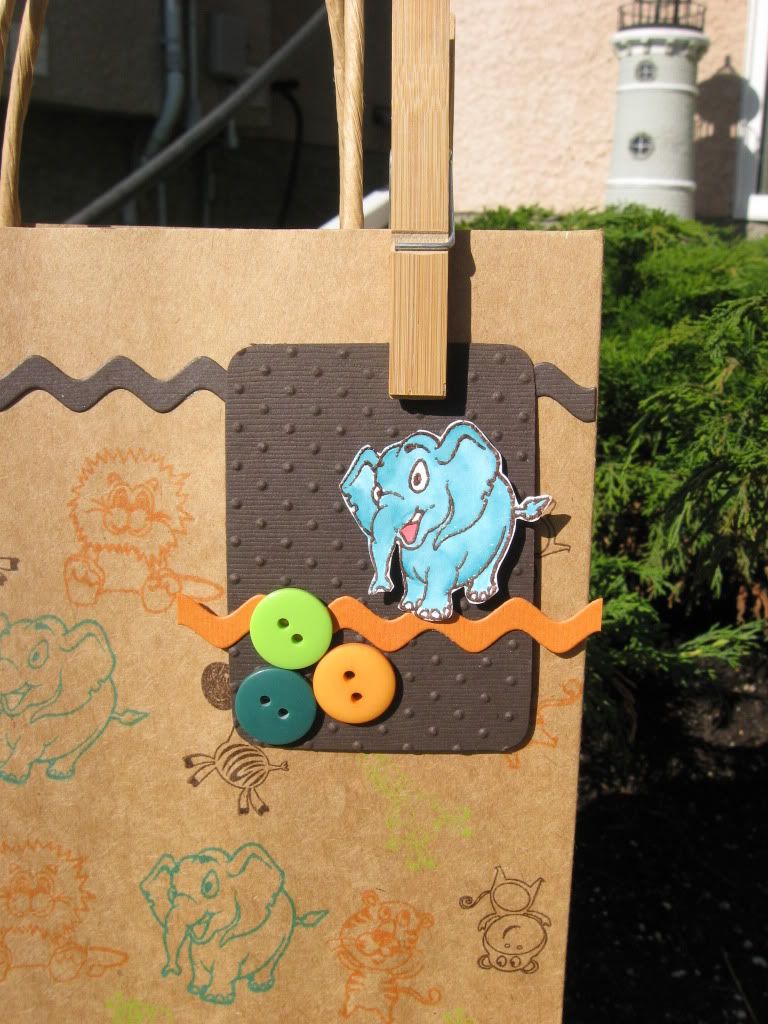
I simply stamped the animals in various colors all over the gift bag, here's a tip to make it easier stamp the same animal in the same color each time! Stamping a gift bag is easy, fun and impressive! Any time I've done it it's been a big hit! I made a gift tag to go along with it here's a close up:

Image

I embossed the elephant in brown embossing powder and colored him in with inks, water and a paint brush! :> It's nice to work ahead so the next birthday party we will be prepared!

And that's it from me today! Hope you have a fantastic Monday! :>

Supplies Used:

Safari Friends Stamp set by Gel a Tins

Chocolate Chip Stampin Up Ink
Tangelo Ink by Memento
Moss Green ink by colorbox
Splash Ink by Hero Arts
Ocean Ink by Close to my Heart
Ric Rac border by papertrey ink
cardstock by bazzill
various buttons

Friday, May 18, 2012

Hello Monster card by Kim P.

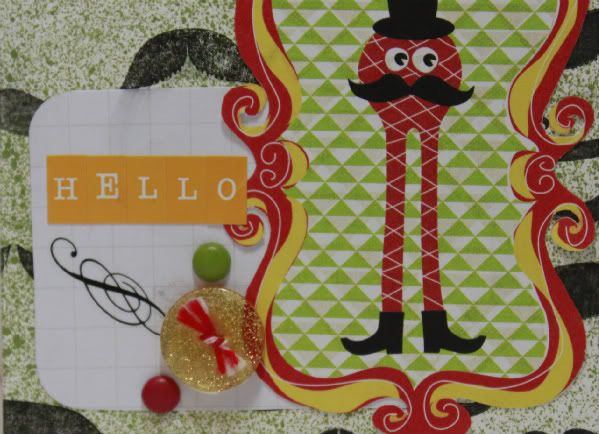
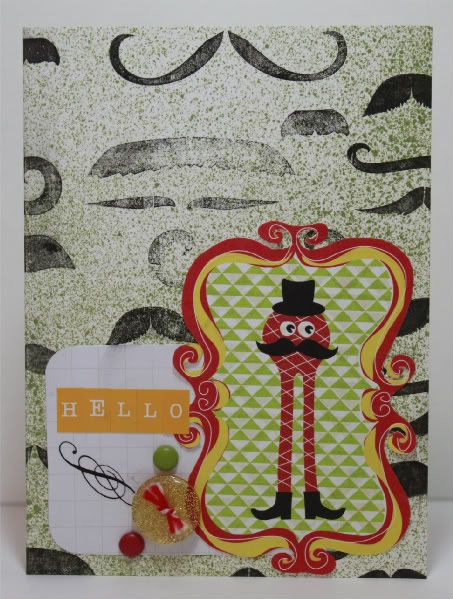
I saw this stamp set and knew I had to make a card to send to my friend! Who wouldn't enjoy a mustache card?!?

Image

Supplies Used:
gel-a-tins Mustache Mania stamp set, Studio G black ink, Maya Road Avocado Metallic Mist, Sassafras Lass monster paper and brads, Pink Paislee rub-on, My Little Shoebox letter stickers, American Crafts button, Twinery twine, and Becky Higgins grid journaling spot.

Instructions:
I wanted to use the mustache stamps as a background, so I made a background stamp out of them! I randomly placed the mustache stamps on my acrylic block. That way I could stamp several mustaches at one time. First I misted the white cardstock to give it some color and stamped over the misted area.

Image