
")
Happy Tuesday! Here today to share with you a special card and gift box set that you can put together in under thirty minutes. Used Gel-A-Tins Sugar & Spice stamp set to create something for the little one.
")
So here we go...
Card:
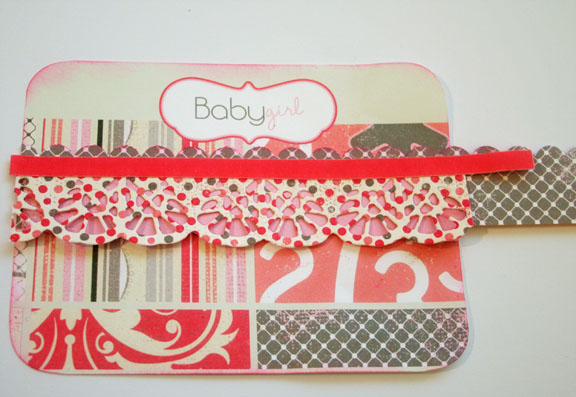
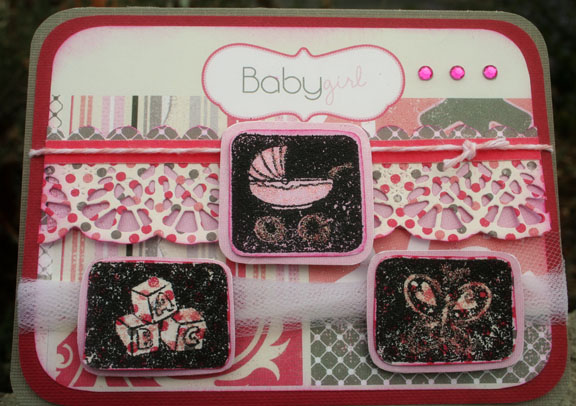
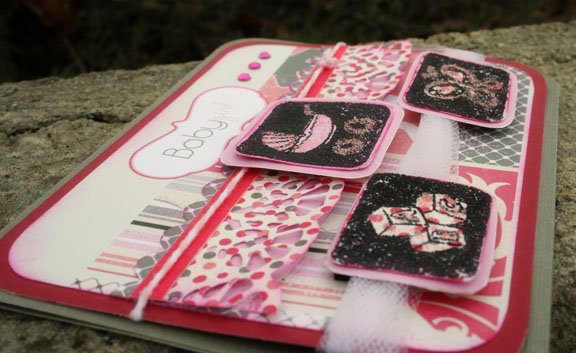
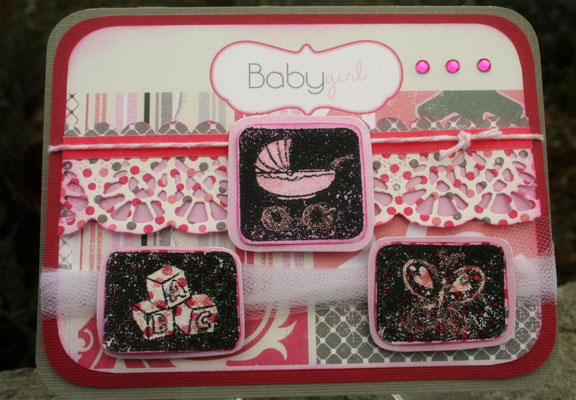
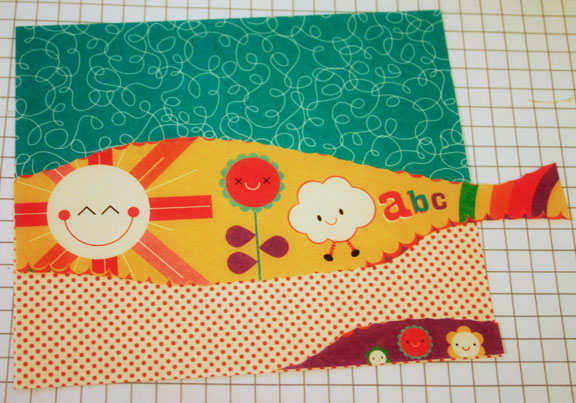
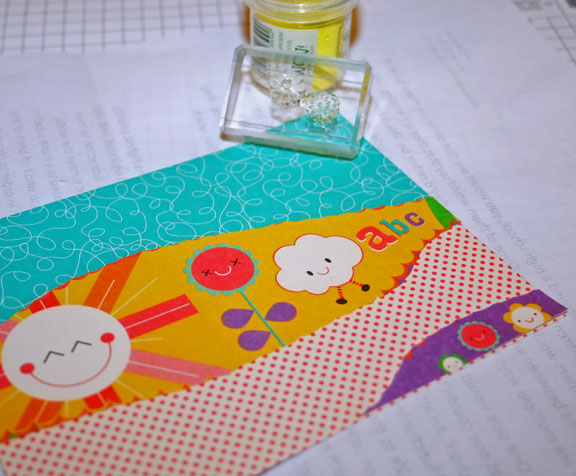
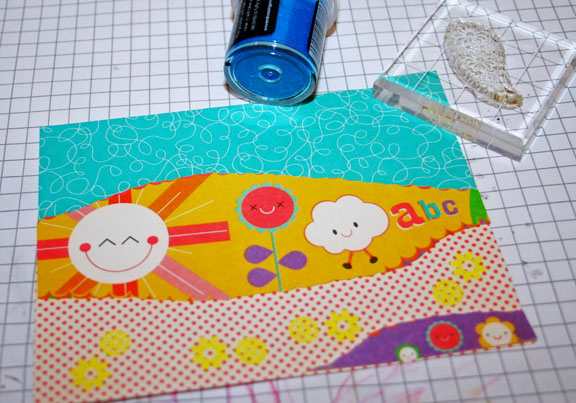
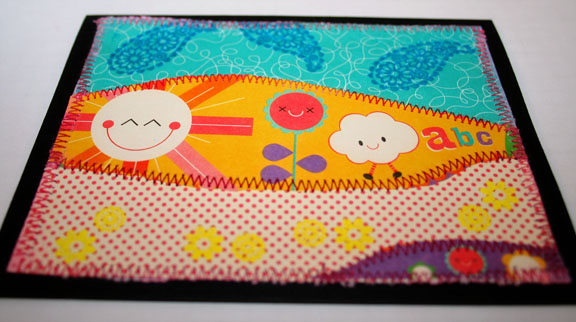
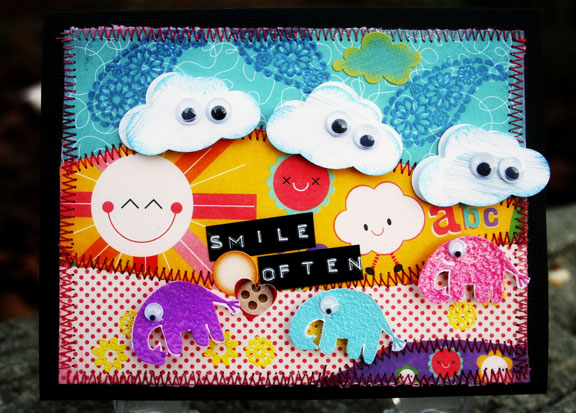
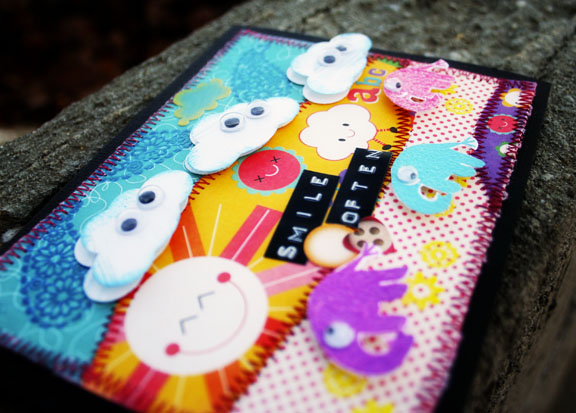
1. Begin with a folded cardstock and cut piece of paper for the front of the card. Stamp with Gel-A-Tins Coffee Break full circle to create a polka-dot effect. Cut smaller piece of paper, this can be any size just wide enough to fit the stamped images inside. Add fabric to the bottom, backside of the smaller piece of paper and sew onto larger (card front) piece of paper. Adhere to cardstock.
2. Add ribbon to center of card.
3. Stamp three images using Gel-A-Tins Sugar & Spice, cut out and mount onto card.
4. Add pom-pom trim, ric-rac, flower and glitter to card.
5. Die cut circle, stamp with Coffee Break Circle and sentiment stamps. Cut in half and adhere to card.
")
The gift box was quite fun.
Gift Box:
1. Cut 2 pieces of cardstock. Stamp with Coffee Break and Love Knots.
2. Cut strip of cardstock, which will be used to create the box and score to create the bottom and sides of the box. Use your previously cut front and back side of the box as a guide to cutting and folding this piece.
3. Die cut two large circles, die cutting a smaller circle in the center. Die cut half of smaller circle at the top of the front and back. Adhere together.
4. Adhere the bag together and add embellishments.
Supplies:
Gel-A-Tins Love Knots
Gel-A-Tins Sugar & Spice
Gel-A-Tins Coffee Break
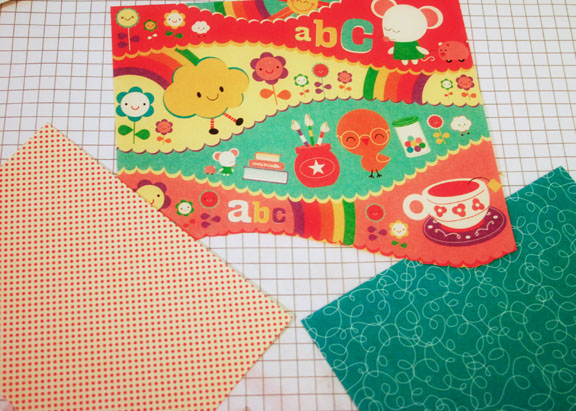
Pink Paislee - paper
Prairie Bird Boutique - ribbon
Prima - flower
Papertrey Ink - sentiment stamp, cardstock
Quickutz - circle die
Melissa Frances - pom-pom trim
ric-rac
fabric
mini clothes pin
thread
glitter


")
")


")
")


")


")
")
")
")
")