Wednesday, June 6, 2012

Love Knots for Dad

Hello out there in blog land! Can you believe it's already June?!? We're half way through the year. Where has the time gone?

We are a little over a week away from Father's Day here in the US. I like to make my husband a card from me for Father's Day. I know that Father's Day is for kids to remind their fathers why they appreciate them, but I like to also remind my husband that I see how great of a father he is to our daughter.
Image

Supplies Used:
Love Knots stamp - gel-a-tin stamps
watermark ink - versamark
clear embossing powder - Stampin' Up
chipboard - Maya Road
buttons - random from my jar o buttons
Modeling Paste

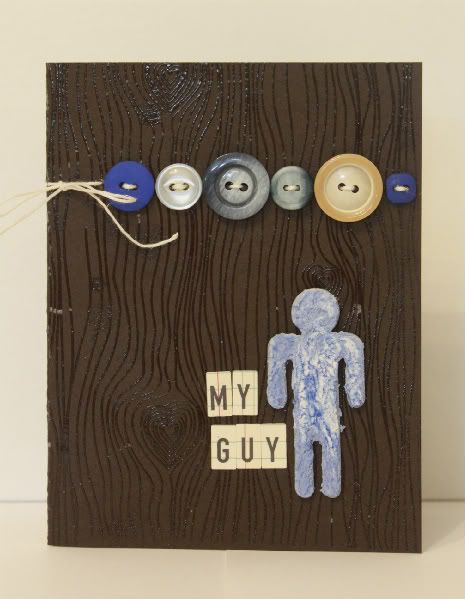
At first glance, the hearts in the Love Knots set made me think of a feminine project. I have a hard time mixing hearts into guy projects. But, I knew that it would work perfect for a card that was given out of LOVE!

I used the Love Knots background stamp to create the background for my card. I stamped it with watermark ink, then added clear embossing powder. I wanted to add texture with this stamp, but I wanted it to be subtle on the background.

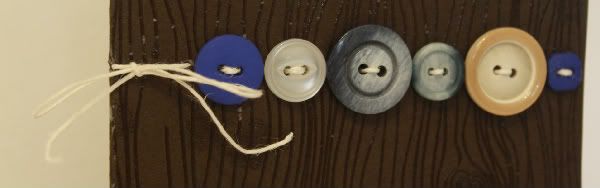
I sometimes struggle to add embellishment to masculine projects because I am a glitter and bling lover! One of my favorite embellishments to add for a guy are buttons. For this card, I stuck the buttons in a straight row, then stitched them on with twine. This row of buttons served two purposes. First, was embellishment. Second, the placement was to cover a mistake! I was a little off with seaming the background stamps together on this card, so I made sure that my buttons covered the gap! If there is one thing that I can teach someone about stamping, it's that mistakes happen and it's ok! Keep going with your creation and see where it goes!
Image

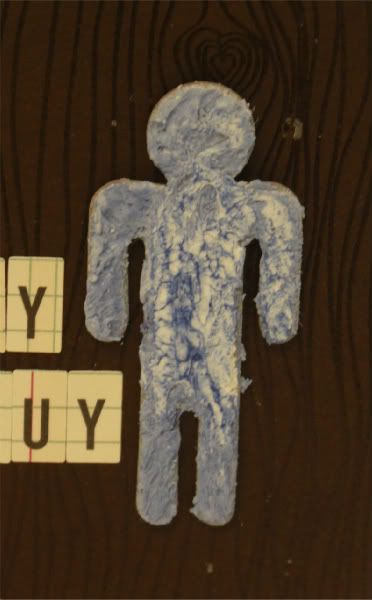
Finally, I wanted to use the boy potty person on the card. The smaller keychain people that Maya Road sold had a hole in the middle of the head. To cover that and add more texture to my card, I dabbed modeling paste all over the chipboard. Once it dried I added mist over the top to add color.
Image

I look forward to seeing what everyone creates with this fun background stamp!

Tuesday, June 5, 2012

1 Stamp Set 2 Ways with Sketches

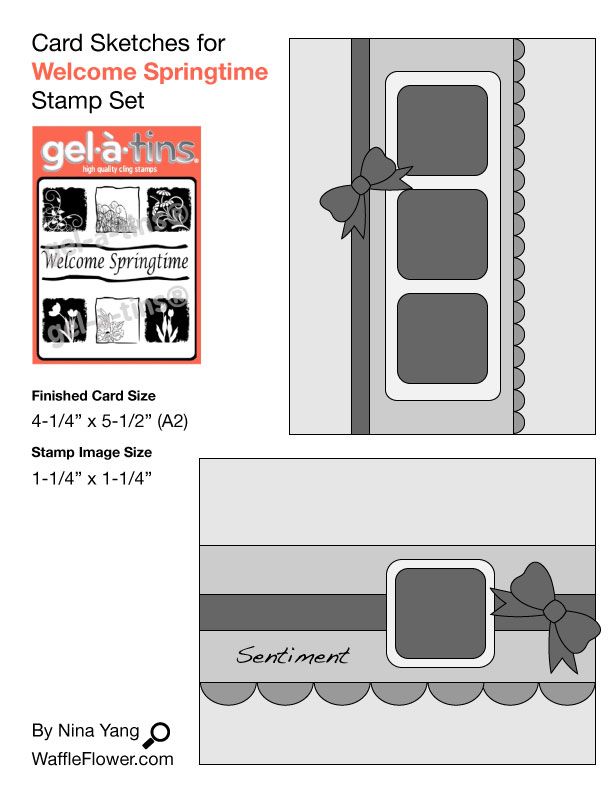
Hello Everyone! Today I am sharing a couple of sketches I made for Welcome Spring Time Stamp Set:

Image

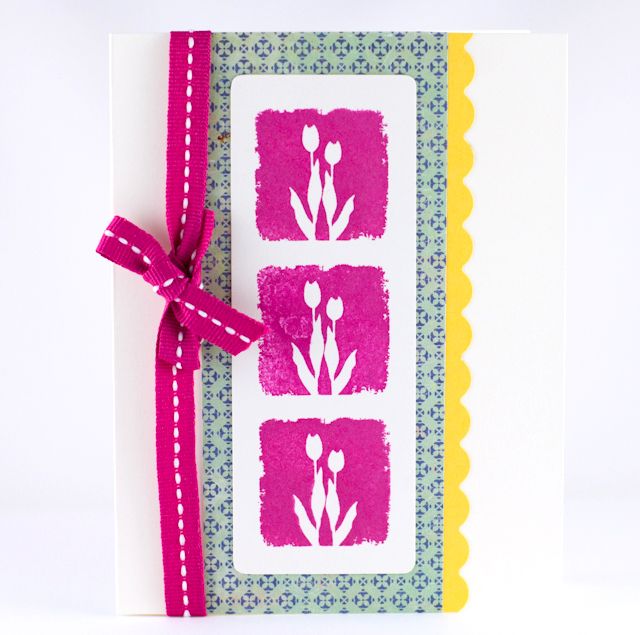
The squares in Welcome Spring Time stamp set are all about 1-1/4" in size and look amazing on cards:

Image

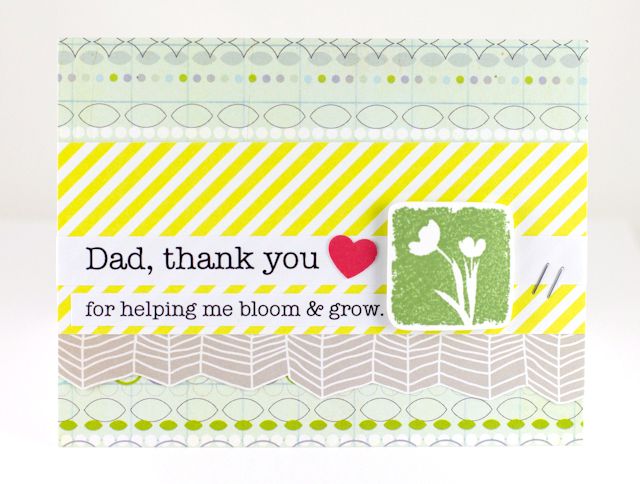
I decided to challenge myself for a masculine card with the second sketch:

Image

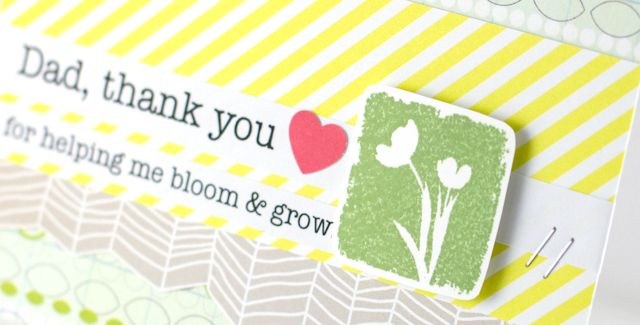
I printed the sentiment from my computer and added some staples for detail:

Image

I hope that you like today's cards and are inspired to create some cards using the sketches. Happy Crafting!

Monday, June 4, 2012

For one dapper dad...

Image

Image

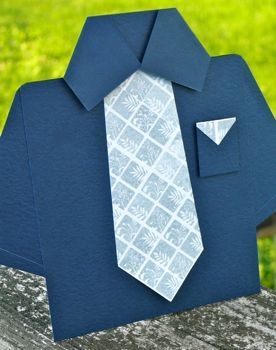
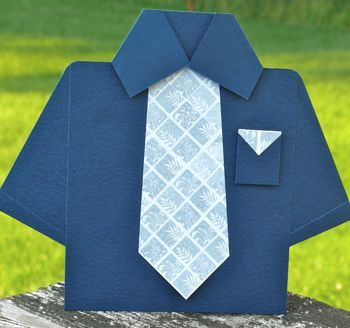
Hello, everyone! I would like to share another Father's Day idea with you. This cute shirt can be made into a stand-alone display or a greeting card.

To begin, cut a piece of cardstock to 5" x 7". Come down about one inch from the top, cut a one inch slit on the left side, and one inch slit on the right side. Fold in the flaps to make the collar.

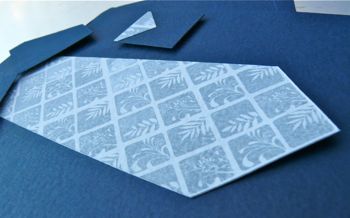
To make the pattern on the tie, use the small square stamps from the Unbeleafable Collection. Arrange them on the clear stamp block, and just keep stamping until you fill up half a sheet of cardstock. Cut out a tie shape and adhere underneath the collar flaps. Use adhesive foam squares under the collar and end of the tie for dimension.

Image

Cut a small rectangle for a pocket. Add a small scrap of the stamped design to serve as a handkerchief hanging out of the pocket. Use adhesive foam squares to make it pop off the shirt. Cut 2 rectangles and adhere at an angle for the sleeves.

To make the shirt a stand-alone display, add a piece of folded cardstock to the back to make it stand up. If you would like to make this a greeting card, make the body of the shirt a folded card base. The sleeves can be optional.

I hope you enjoyed this project. You can use many of the stamp collections for tie patterns. Cheveron-tastic would make a great tie! I just might have to try that...

Thanks for stopping by.
Kim F.

Supplies:
Gel-a-tins Stamp Set: Unbeleafable

Other:
Cardstock: Prism
Ink: Distress Ink by Tim Holtz in Weathered Wood
Adhesive Foam Squares

Saturday, June 2, 2012

You're my Honey Bear!

We all know that honey is sweet and that little bears are cute, but what do you get when you put them together? Apart from a little sticky mess of course!. Well gel-a-tins have put them together in a very special set of clear stamps called 'Honey Bear' that is adorable. In the set you get a total of 12 clear stamps and of course the super metal storage tin. The sentiments included are 'Thank You', 'Love You', Beary Much', 'Miss You', You're My', 'Honey' and Bear. The image stamps consist of a Beehive, two Bee's, Butterfly, Honey Pot, Flowers and of course last but not least the adorable Teddy Bear. I have used this set to create a card. I decided to stick with Yellow tones with a little splash of black for dimension. Below you will find a list of the products I have used and how I made this project. The buy this stamp set please visit http://gelatinstamps.com/product_info.php?products_id=5

Image

PRODUCTS USED

gel-a-tins 'Honey Bear' clear stamp set
K&Co Contemporary Boxed Paper Collection (524460)
Xyron 5" Creative Station
Xyron Mega Runner
Cricut Sentimentals Cartridge
Core'dinations Glitter Stack
Doodlebug Boutique Trims (Halloween Assortment)
Doodlebug 'Bumblebee' Rick Rack Ribbon
Doodlebug Flocked Brads
America Crafts Speciality Papers
Bee Flatback Buttons
StazOn Black Ink Pad
Whispers orange Ink Pad
docrafts Papermania Capsule Collection 'Lemon Sorbet' Flowers
Foam Pads

HOW IT'S MADE

Cut out the beehive base using the Cricut Sentimental cartridge
Cut out the glitter filigree beehive pattern and layer it on top of the beehive base. I used the Xyron to apply adhesive to the filigree pattern this made sure all parts were properly glued.

Image

For the base layer of the card I again used the Cricut Sentimentals cartridge to cut out a beehive base from the middle of a piece of paper that matches the base of the beehive only slightly bigger.
Rub the edges with the Whispers Orange ink pad.
Layer the page on to a sheet of orange American Crafts paper.
On top of this place your beehive using foam pads so that it stands out.

Image

Using the black and gold American Crafts Speciality Papers matt and layer to create a faux frame effect.
Apply the ribbons to the base and down the right hand side.
Add the flat back bee buttons to the front of the beehive.

Image

Assemble your flowers and hold together with the brads.
Rub the edges with the Whisper orange ink pad and group together on the card.

Image

Image

Stamp the Sentiment, Bear and Honey Pot with the black StazOn ink and cut out.
Trim the sentiment with gold glitter
Cut the bears arms so he can hug the sentiment and glue together.

Image

Stick to the card with foam pads

Image

This is how it looks from the side.

Image

So there you have it, I hope you have as much fun with this little bear as I have.


Sharon

Friday, June 1, 2012

Get ready for Father's Day!

Hello, everyone! Thank you for stopping by Gel-a-tins today!Can you believe that it is the first day of June? Already? So that means BBQs, beach fun and Father's Day. Yep, that's right, Father's Day is a few weeks away! So there is no better time to start creating that special card for that special man in your life!

Today I am going to show you another CAS card. I find it had to make masculine cards, so it is easier (for me) to create a clean and simple card.

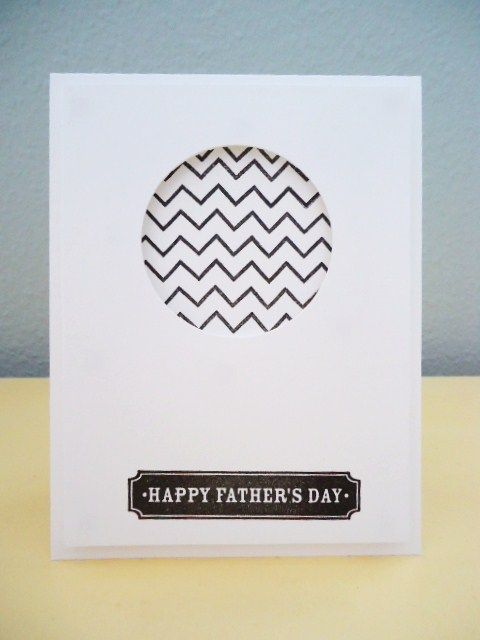
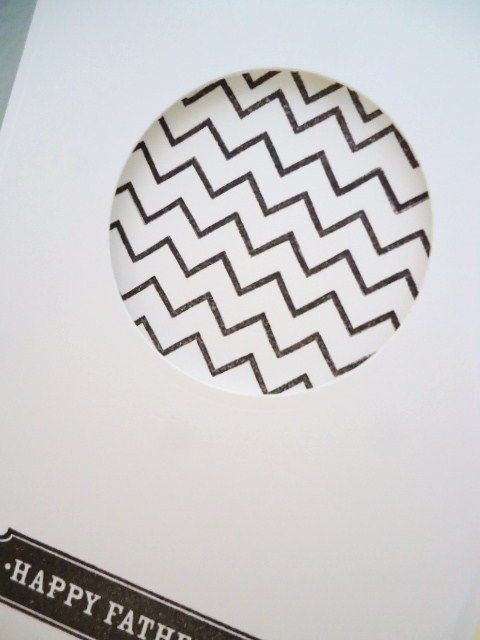
Using the fantastic Cheveron-tastic Stamp set, here is the card I created:

Image

I was debating on adding a splash of color, but decided against it. Starting with a solid white cardstock, I created a A2 size card. With the leftover cardstock, I decided to create a window-effect (with a circle diecut) to place up top of the front. Before adhering the window, I stamped several lines using a stamp from the Cheveron-tastic set. (I choose to do 1 color, but would look awesome to do in a variety of colors...such as in a rainbow!) I added the simple sentiment to the window cardstock. Using 3D dots, I attached the window to the card.

Image

Once again, thank you for stopping by Gel-a-tins! Be sure to stop by on a regular basis to see an awesome variety of projects that our DT creates! We aim to inspire!

Have a great day!

Jessi P.

Gel-a-tins Stamp Set - Cheveron-tastic


Other Supplies:
Mohawk Cardstock
Spellbinders Circle Die Cut
Paper Studio Black Ink
Studio G Stamp

Thursday, May 31, 2012

Honey Bear baby gift set

Hey everyone! Thanks for joining me here again today!!

When I got my Honey Bear stamp set from Gel-à-Tins I just couldn't get over how cute that little bear was! All I could think was how he'd be perfect for a baby project. So that's what I set about making! It's always fun to try and find different uses for your stamps isn't it?!

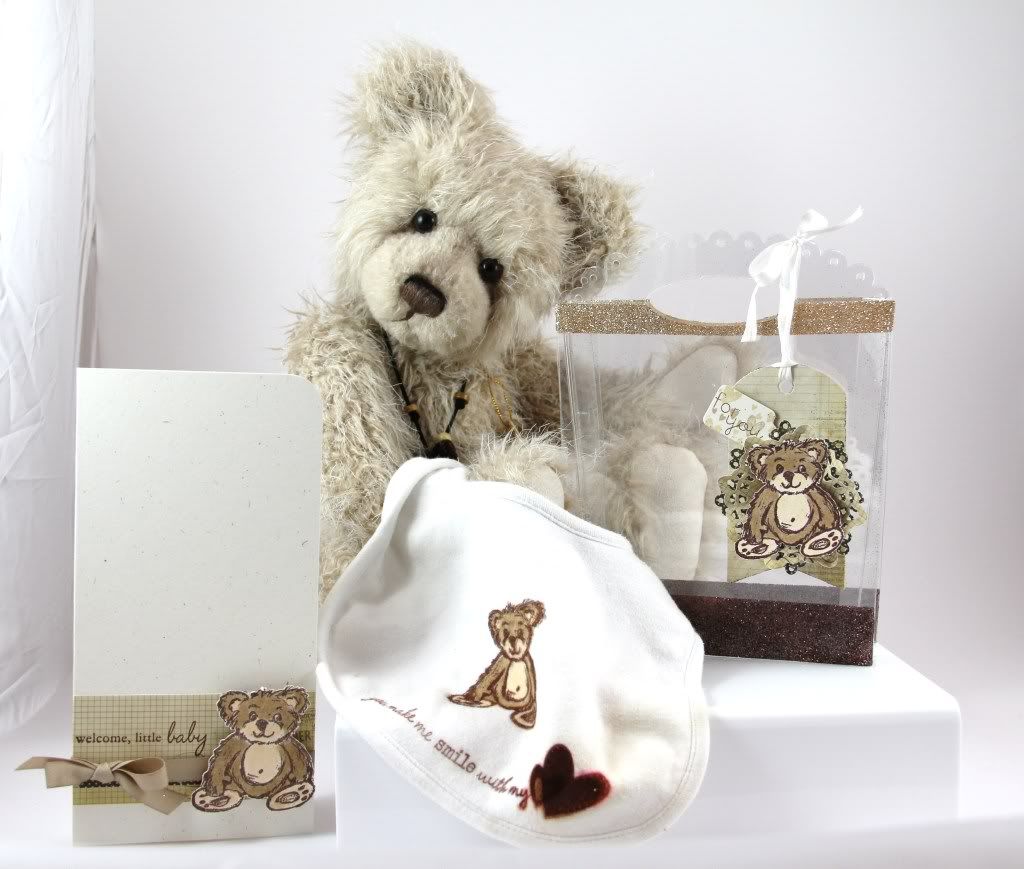
I settled on the idea of a baby bib and card gift set. I've wanted to try stamping on fabric for ages and now seemed like the perfect time!

I wanted to keep the gift set gender neutral so I settled on a colour palette of browns and creams:

Image

How cute is that?! Doesn't that little bear work perfectly for a baby project?!

Image

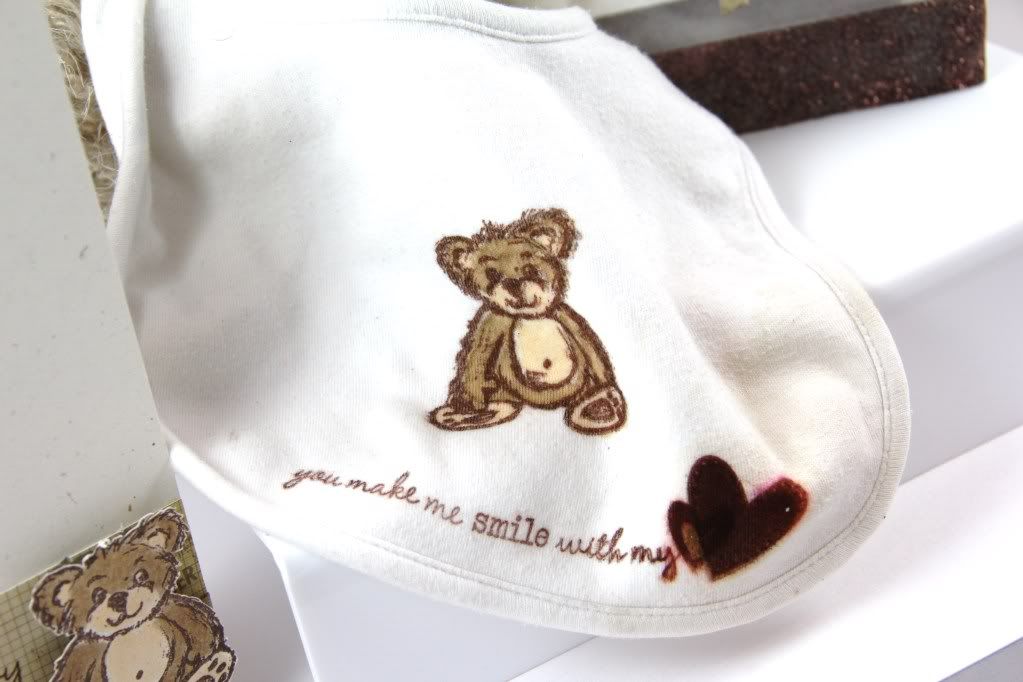
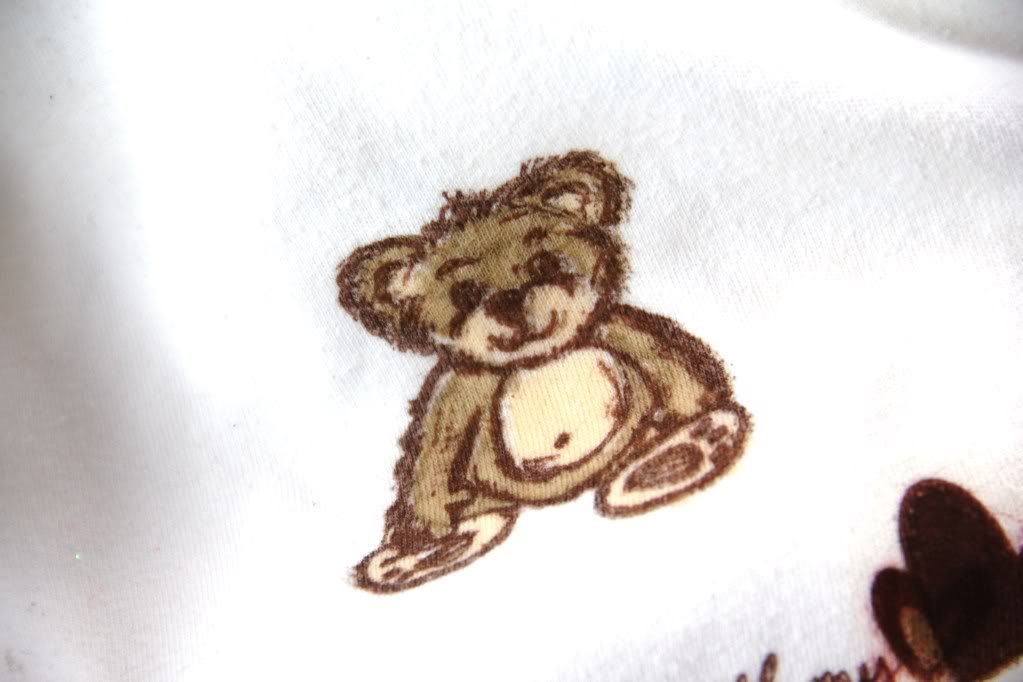
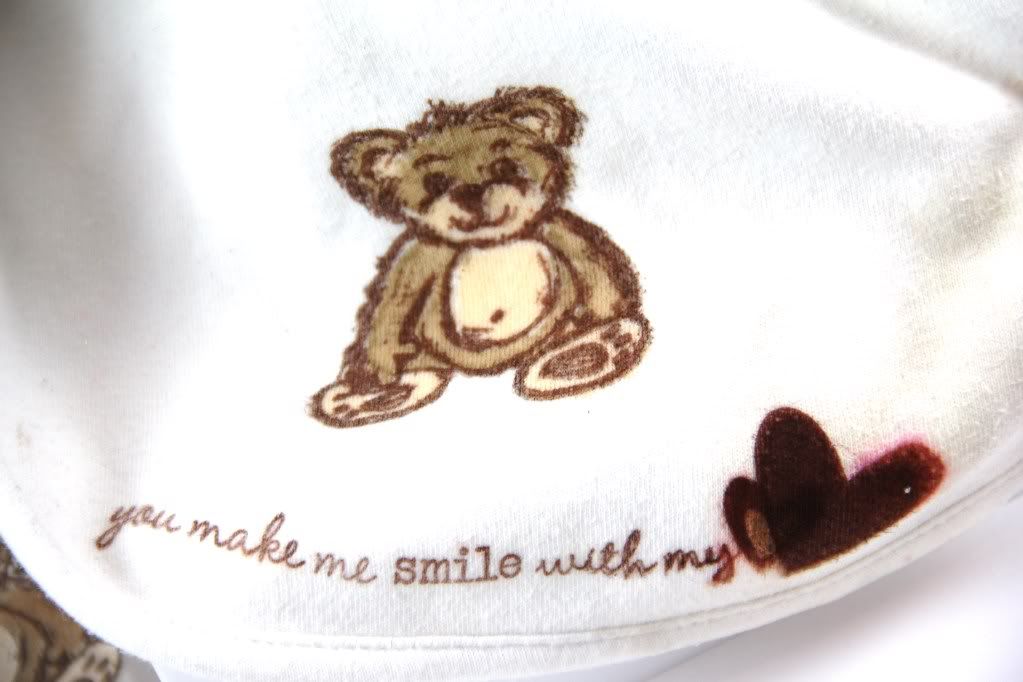
I started by taking a used, washed bib and stamping the bear in brown ink. I found that to stamp well on fabric using quite a bit of pressure and keeping the stamp on the fabric longer than you would on cardstock helped transfer the image well and give good results. You may need to stamp the image twice as well, but that's what's great about the clear stamps from Gel-à-Tins - they make that process so easy!!

Image

After stamping my little bear I coloured him with some Copic markers. I wanted to keep the design simple so all that was needed to finish off was a cute sentiment and some hearts. So adorable!!

Image

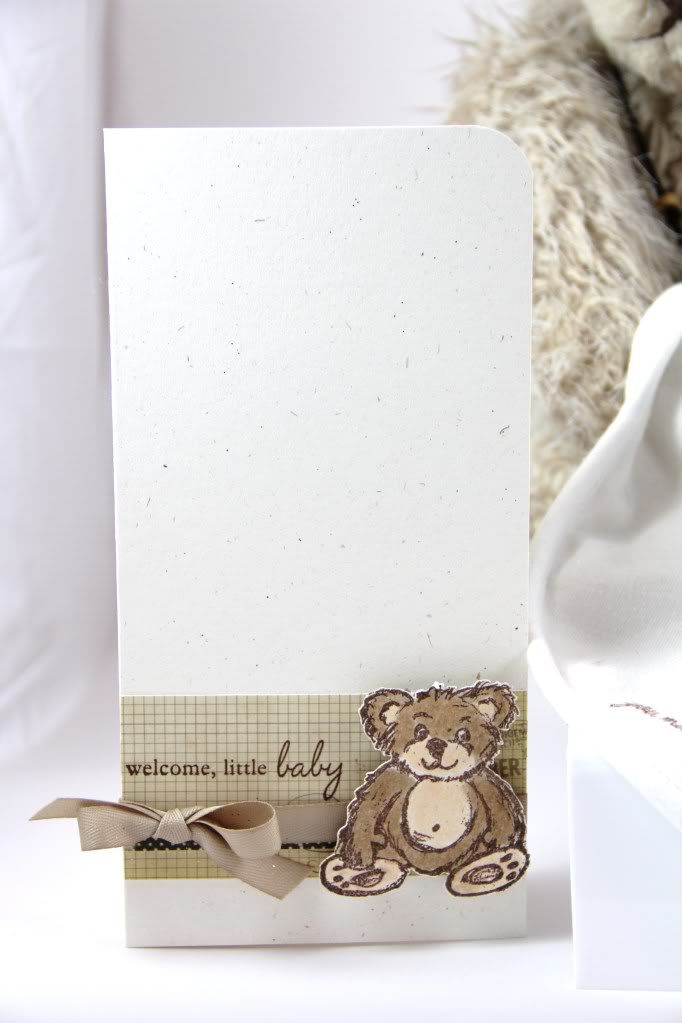
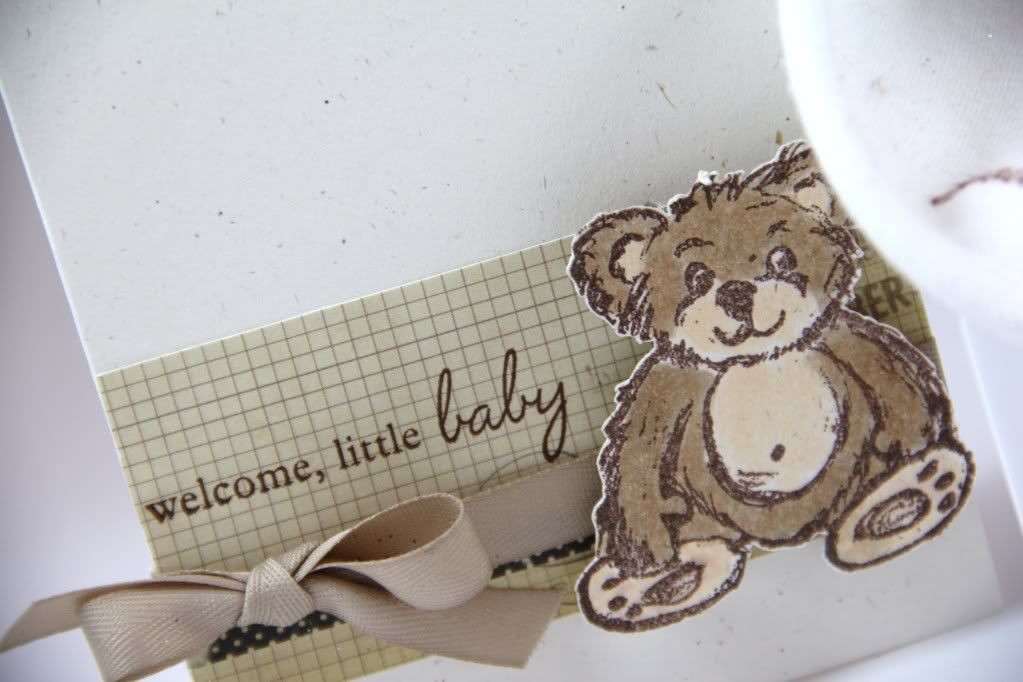
I didn't stop there and created a cute little card to accompany the set:

Image

I used that adorable little bear again and kept the design fairly CAS, accenting only with some patterned paper and ribbon in co-ordinating colours.

Image

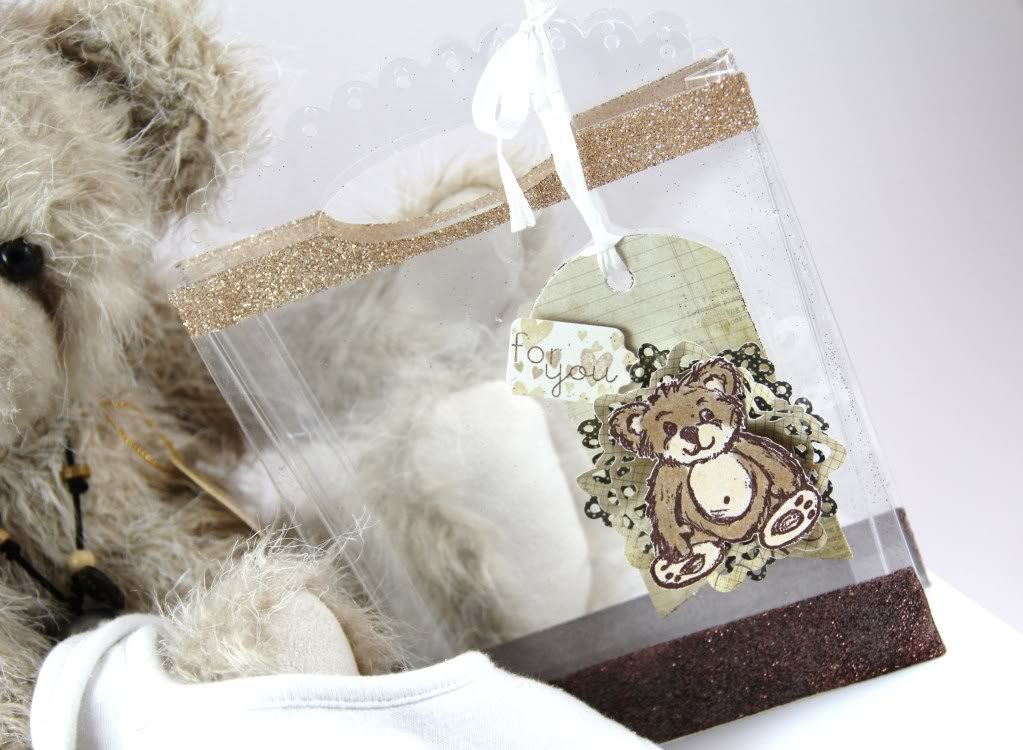
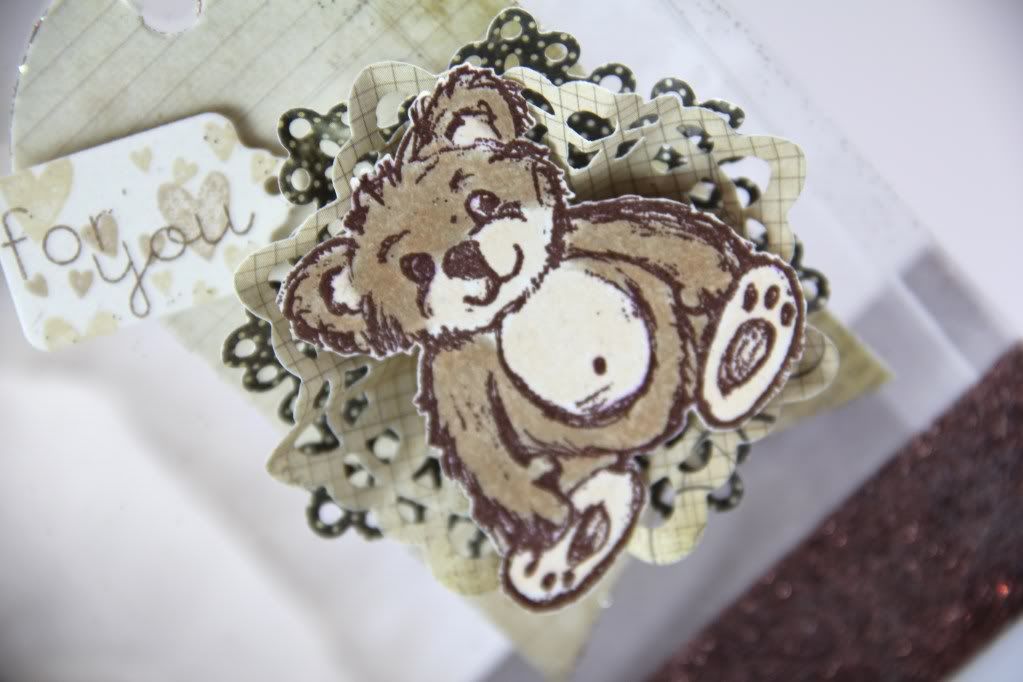
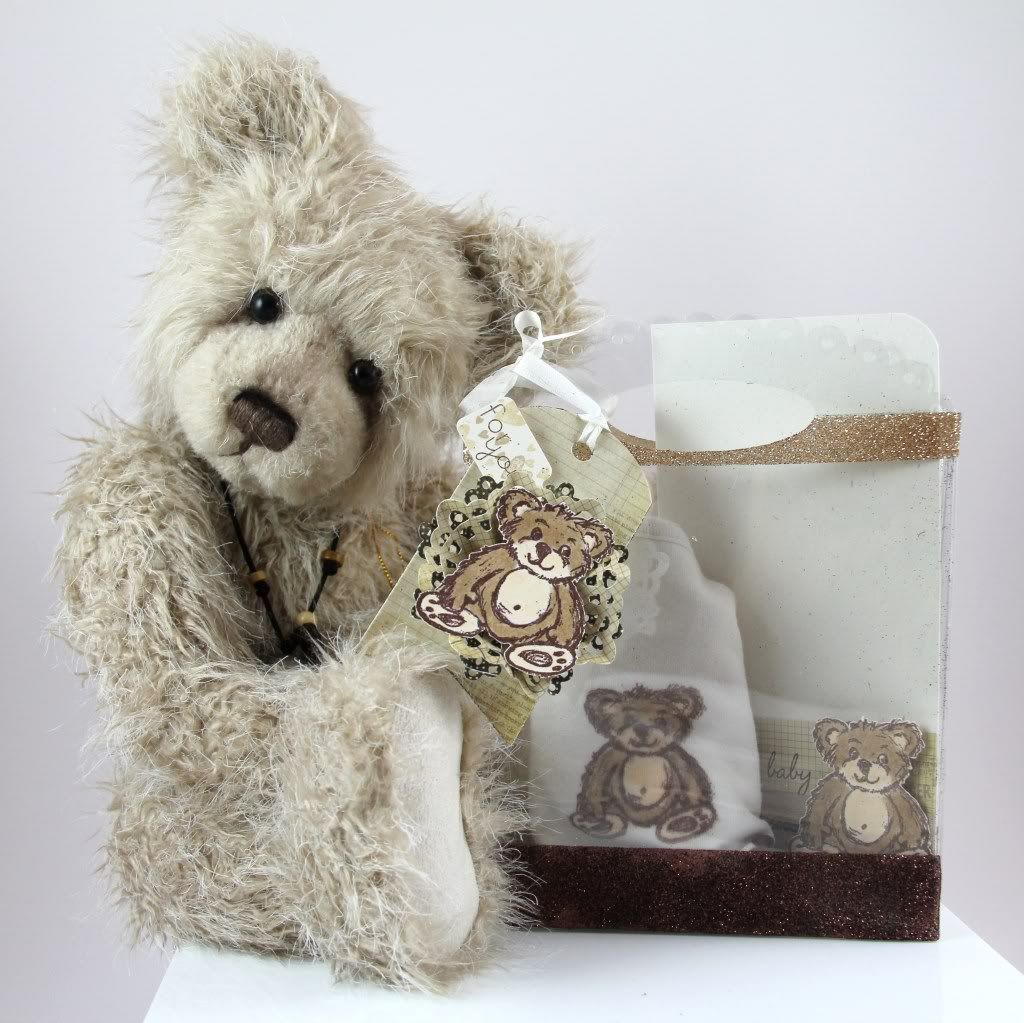
No gift set is complete without some cute packaging! I set about creating a little clear gift bag, embellished with glitter and adorned with a matching bear tag!

Image

Doesn't he look all cute and perfect?

Image

Here's the set all packaged up, all ready to give to a lucky recipient:

Image


Supplies Used:

Gel-à-Tins:
Honey Bear

Other:
Half Pint Heroines (Waltzingmouse Stamps)
Simply Valentine, Baby Button Bits, Fillable Frames #5 (Papertrey Ink)
Dark Chocolate ink (Papertrey Ink)
Rustic White cardstock, Clear Cardstock (Papertrey Ink)
Dies (Papertrey Ink)
Kraft Twill Ribbon, Silk Ribbon (Papertrey Ink)
Patterned Paper (Simple Stories)
Glitter (Martha Stewart)
Copic Markers
Corner Chomper

I'd love to hear what you think about this cutie little set!! Do you ever find some fun alternative uses for your sets? I'd love to hear about it!! Thanks so much for stopping by!!

Wednesday, May 30, 2012

A sweet set of cards!

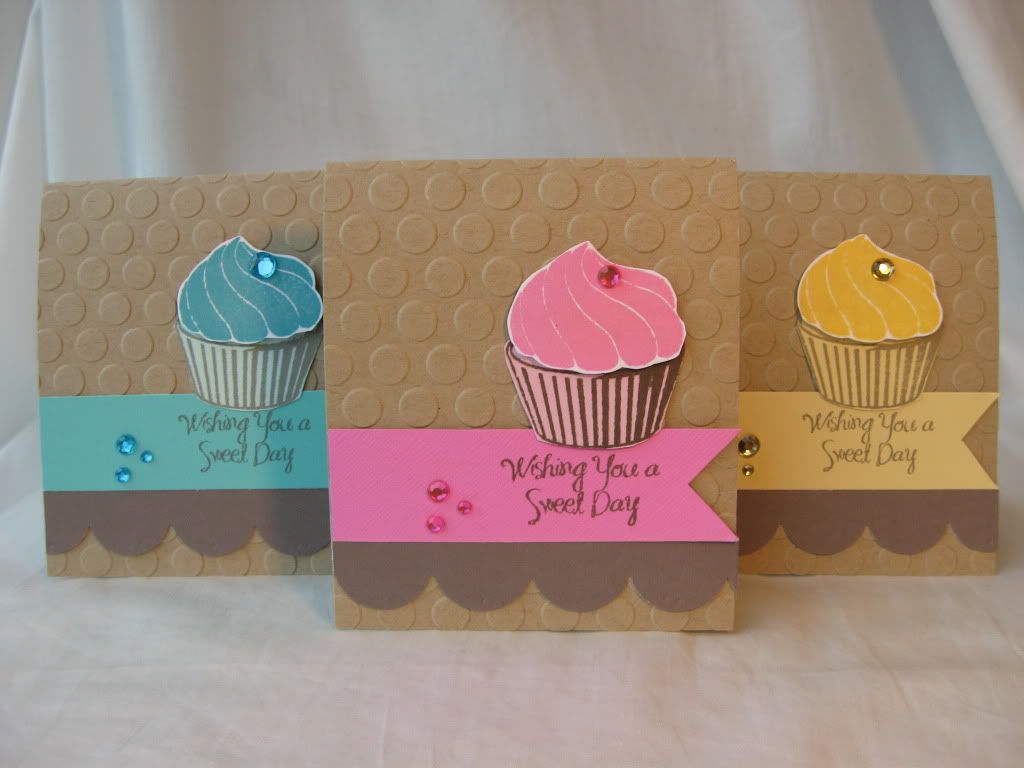
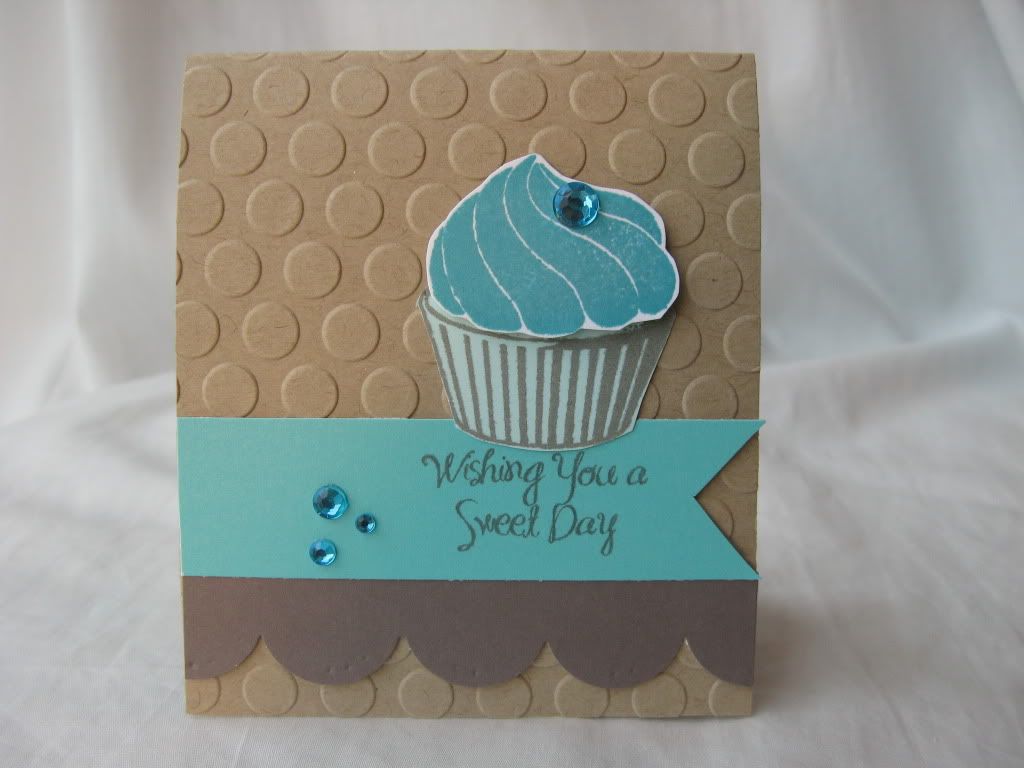
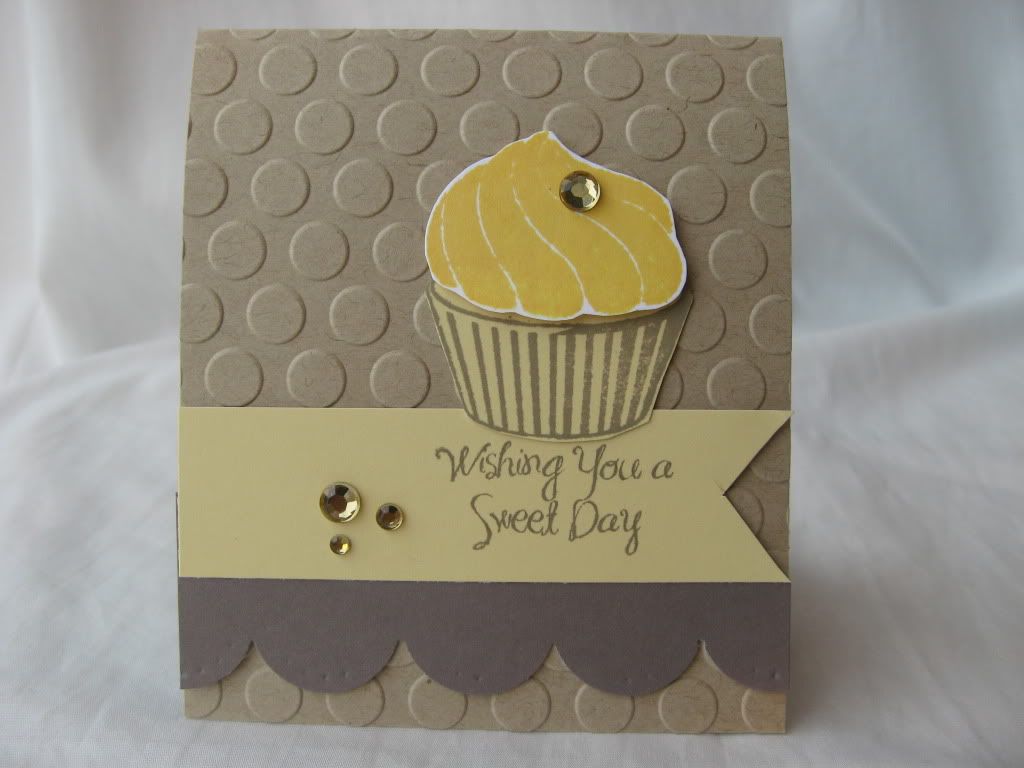
Hello! It's Anita here from http://craftygrldesigns.blogspot.com! Hope your having a great day! Today I have a sweet card set to share with you using the Sweet Cakes stamp set! I took a kraft 8.5 by 11 sheet and cut it into 3 cards (3.60 by 4.25 inches) And got 3 mini cards from it and made this set! I find it hard to keep up with all the kid birthday parties so I love to make birthday card sets, may as well make several at once!

Image


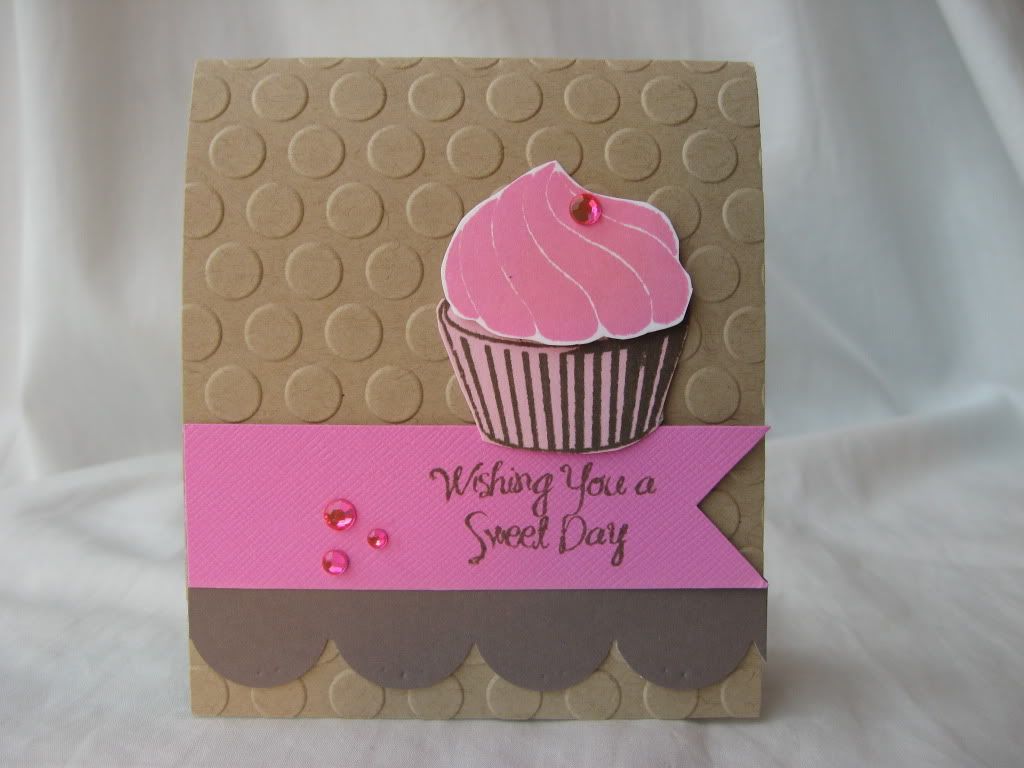
I stamped the cupcake tops in some fun colors and the bottom cup in lighter colors. I like to think that the flavors are strawberry, banana (vanilla is so boring) and blueberry!!! I embossed the kraft cardstock with a dot folder to add some fun! Made a banner for the sentiment and punched a row of scallops in chocolate! Added some rhinestones because they add so much! Here are some close ups!

Image

Image

Image


And that's it from me! Hope you've enjoyed this set!

Supplies Used:

Gel a Tins Sweet Cakes Stamp set

Other Supplies:
Kraft Cardstock by Bazill
Other cardstock Arts and my mind's Eye
Butterball, bubble gum, splash inks by Hero Arts

Tuesday, May 29, 2012

Thank You card by Tanya

Hi everyone!
I`m very happy to start create with a gel-a-tins stamps!They are really amamzing!
So today I want to show you my first project.

Image

Image

Image

Image

Image

HOW IT`S MADE

Initially, I prepared two billet for cards of cardboard binding. Start by decorating the first side.Stamped "Love Knots" and cuted a few pieces of paper.Toned edge of each paper detail. Made a sign and picked up the tone of paper ribbons.Made holes for silk ribbons. Finally decored card with defferent buttons. For the inside, I picked up the paper, cut a few pieces and flags,toned edge of all the details . Made a second stamp of Love Knots and made a new stapms of few small stapms from set Unbeleafable.Finally I decored card with buttons, lace, liquid pearls, flower and ribbons.

PRODUCTS USED
gel-a-tins "Unbeleafable" Clear Stamp Set
gel-a-tins "Love Knots" Clear Stamp
MME paper
Pion Designs paper
BoBunny paper
Buttons
Silk ribbons
Lace
Prima Chalk Ink Edger Branch Bark
Ranger Petal Pink Liquid Pearls


I hope you like it :)
Thank you for stopping here!

Monday, May 28, 2012

Happy Mustache Monday!

Hello everyone! For those of you in the US, I hope you are enjoying your holiday weekend. I know I am enjoying all of the sunshine here in Michigan.

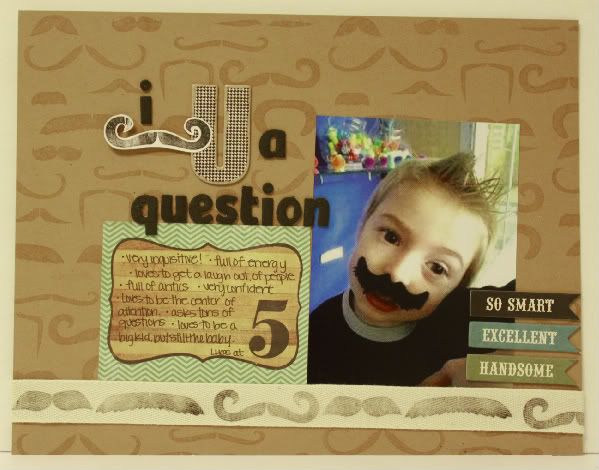
I created this layout of my friends son using the Mustache Mania stamp set. I loved using it to create this layout because it allowed me to make several pieces to coordinate with his picture!

Image

Supplies:
Mustache Mania stamp set - gel-a-tin stamps
watermark ink - versamark
black ink - studio g
Twill tape - Stampin' Up
black alphas - American Crafts thickers
journaling spot and word banners - echo park This and That Charming line
U - pink paislee

Image

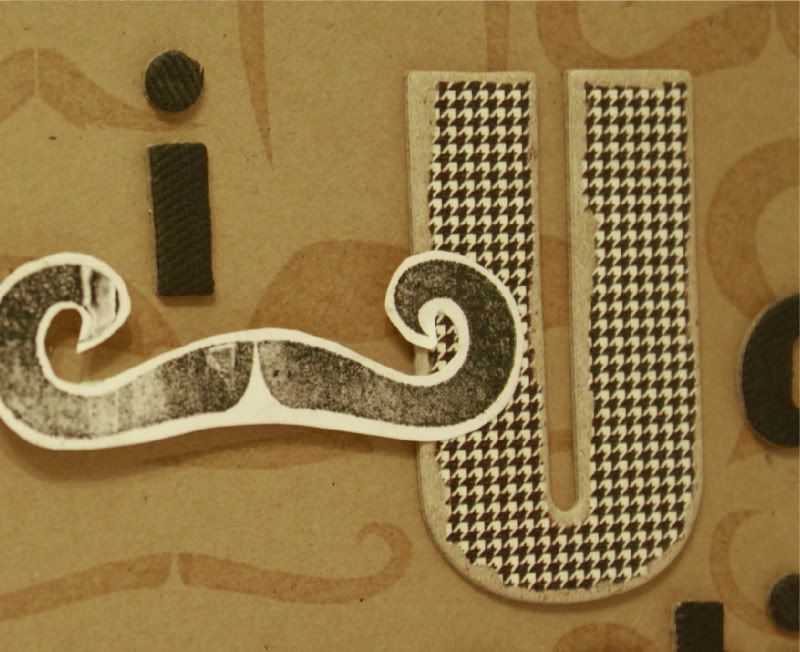
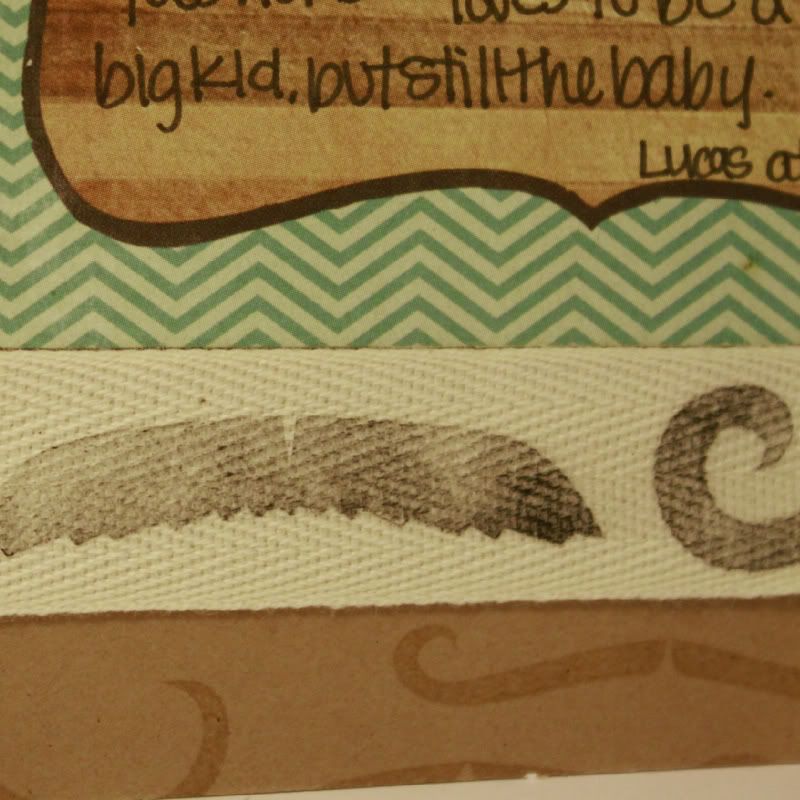
I had fun with the Mustache Mania stamp set! First, I stuck the mustache stamps all over my acrylic block to create a fun background stamp and used Versamark ink to create a tone on tone background paper. I then stamped a mustache in black ink onto cardstock and cut it out. To get a more worn out look with my image, I first stamped onto scrap paper, then onto the cardstock.

Image

I also used the stamps again to create a patterned ribbon. I used repositionable adhesive and stuck the ribbon down to my work surface. I then added my three favorite stamps to my block. I then stamped the images repeatedly on the ribbon.

One of my favorite things about gel-a-tins stamps is that I can add a bunch of the stamps onto the block so that I can stamp a few times and get multiple images. It makes it so that I can get the effect I want without having to stamp each image individually. It makes stamping a background paper a lot faster!

Saturday, May 26, 2012

Be unique!

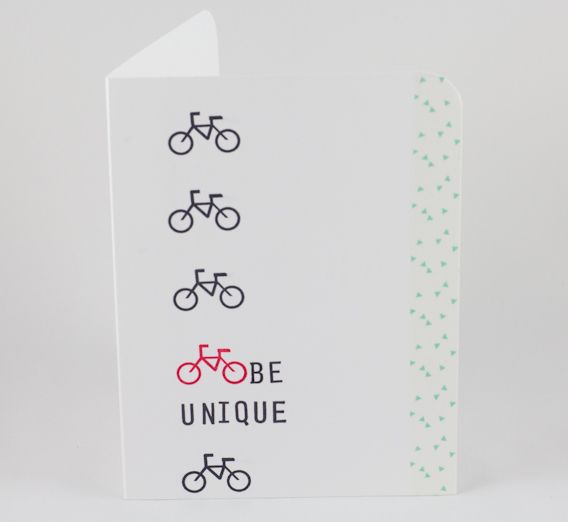
Hello everyone! Nina here with another card made with Gel∙à∙tins Traffic Signs stamp set.

I went with a clean and simple look this time :)

Image

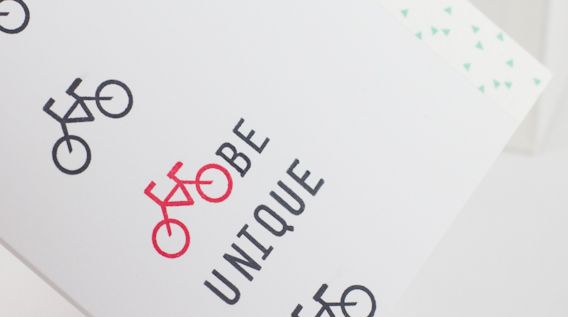
Besides the road signs, this set also includes a full alphabet set with numbers and punctuation marks. The letters are perfectly sized for using as sentiments on cards!

Image

Supplies:
Stamp: (bike and sentiment from Traffic Signs) Gel∙à∙tins
Ink: (tuxedo black, ladybug) Memento
Washi Tape: (may kit) Studio Calico
Punch: (1/2" corner rounder) We R Memory Keepers

You can find more details on this card on my blog here

Happy Crafting!Ni