Friday, September 28, 2012

Sweet and Simple

In this amazing 'Sweet Cakes' Clear Stamp Set are the cutest little cherries, cupcake and strawberries that are perfect for making borders. In this card I did just that.

Image

Products Used

gel-a-tins 'Sweet Cakes' Clear Stamps
Grace Taylor Contemporary paper Collection
Staz-On Ink Pad
May Arts Lemon Ribbons
Xyron 9" Creative Station
Letraset Promarkers
Hot Glue Gun

I started by matting and layering the papers and then on the lemon paper I stamped the cupcakes, cherries and strawberry in a frame pattern before colouring with the Letraset Promarkers.

Image

Then I made the ribbon flourishes and held them together with the hot glue. I added the sentiment.

Image

and them added to the front centre of the card using the hot glue gun

Image

So short and sweet but full of fun.
Thursday, September 27, 2012

Over the moon!

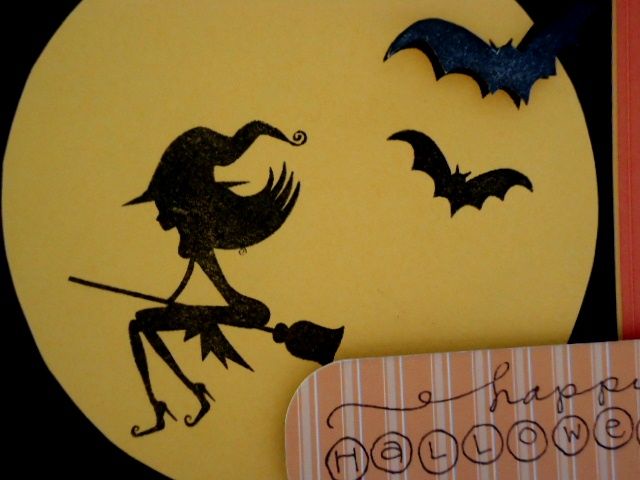
Hello, gel-a-tins fans! Jessi here, and today I am showing you another card using the wonderful Halloween stamp set, Witchy Poo! I am loving this stamp! There are countless options with this set!

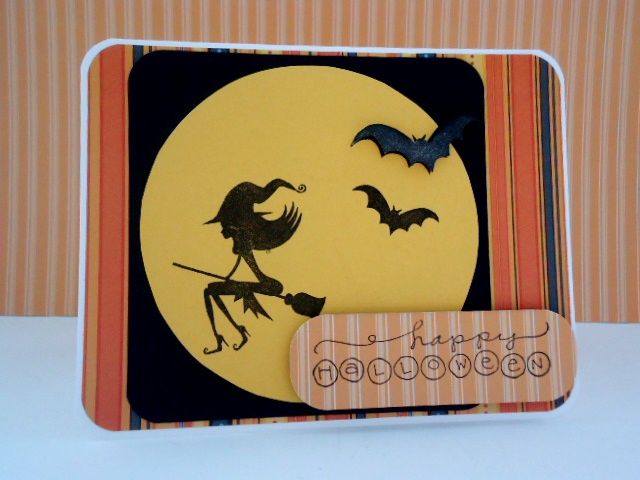
Here is the card I made using the witch and bats stamps from the set:

Image

Once I saw the flying witch, I knew that I wanted to create her with a full moon behind here. And to add some more details, I added the bats to the card. (Also, I added a foam dot to one of the bats to make it 'pop' of the card.

Image

To finish the card, I added the sentiment.

Thank you for stopping by today! Please don't forget to join our blog and Facebook page to see more Gel-a-tins creations and to showcase your projects as well!

Have a great day!

Wednesday, September 26, 2012

Sweet Cakes...Lamp?

Hi everyone! How are you all today?

I'm back today with an unusual use of the Sweet Cakes stamp set!!

When I play with my sets I always try to think outside the box a little and use the stamps for something other than their original intention. Thus when using this set I ended up with a little brainwave and today's card was born:

Image

What do you think? Not your average cupcake huh?!

I started by stamping the cupcake liner onto patterned paper and cutting it out.

Image

I then used a different stamp set to stamp the lamp base right onto the card base and partially onto the lamp 'shade'.

Image

I added a co-ordinating sentiment and some shading with Copics to provide some light and that's all there was to it!


Supplies Used:

Gel-à-Tins:
Sweet Cakes stamp set

Other:
Lighten Up Stamp Set (Papertrey Ink)
Smokey Shadow ink (Papertrey Ink), Versafine Onyx Black ink(Tsukineko)
Stamper's Select White cardstock (Papertrey Ink)
Amy Tangerine Sketchbook patterned paper (American Crafts)
Copic Markers
Scor-Tape

I'd love to know what you think of this little card. Thanks for stopping by - have a great day!!

Tuesday, September 25, 2012

Let's get ready for Christmas!

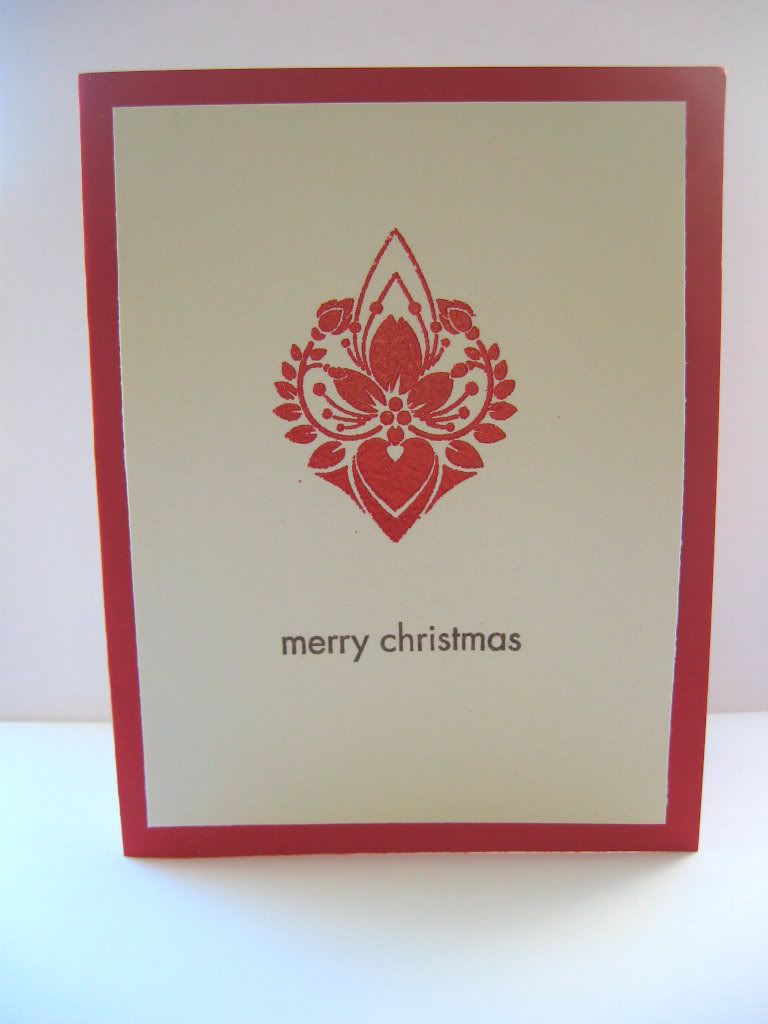
Hello! It's Anita here and today I have a simple and classic Holiday card to share! I used my favorite Gel A tins stamp, Damask! I also used for the first time some Gelly Powder! I used the Cherry on Top scented red powder, it smells great when you just smell the powder but when you stamp with watermark ink and heat emboss the powder your whole craft area will smell great! What a fun experience! I am so happy I got red as with Christmas just around the corner I know I will be using this powder again and again, and it will be great! I remember last year when I was embossing over and over and my hubby came home and said, what smells like old man? Not with the Gelly Scented Powder! Here's my card:

Image

A simple but classic holiday card, I wanted the damask embossed to take center stage! Hope you've been inspired, see you next time!


Supplies used:

Gel a Tins Damask Stamps Set
Gelly Powder Cherry On Top Scented Embossing Powder
sentiment by Hero Arts
Bazzill cardstock

Monday, September 24, 2012

Happy Halloween!

Hi dear stampers!
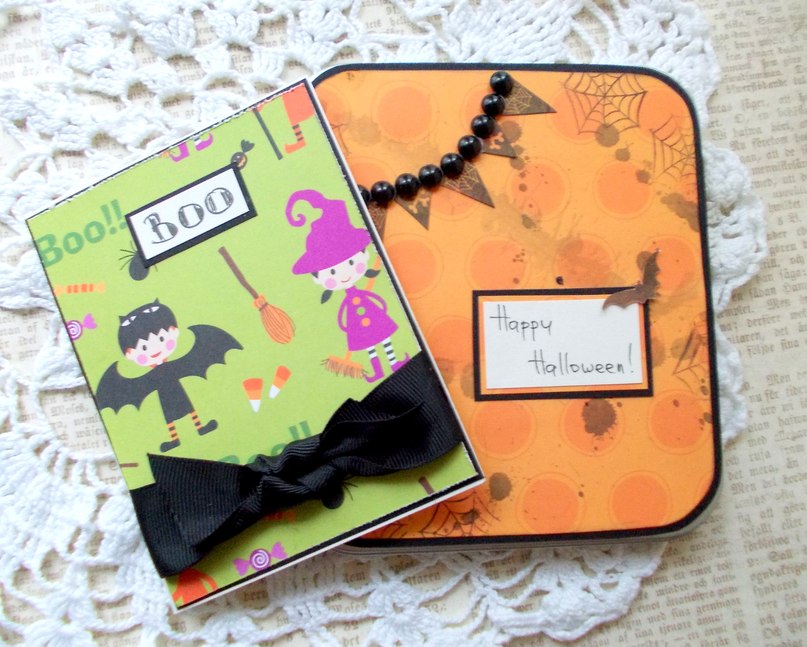
Today I want to show you a set of card in the box from gelly stamps :)
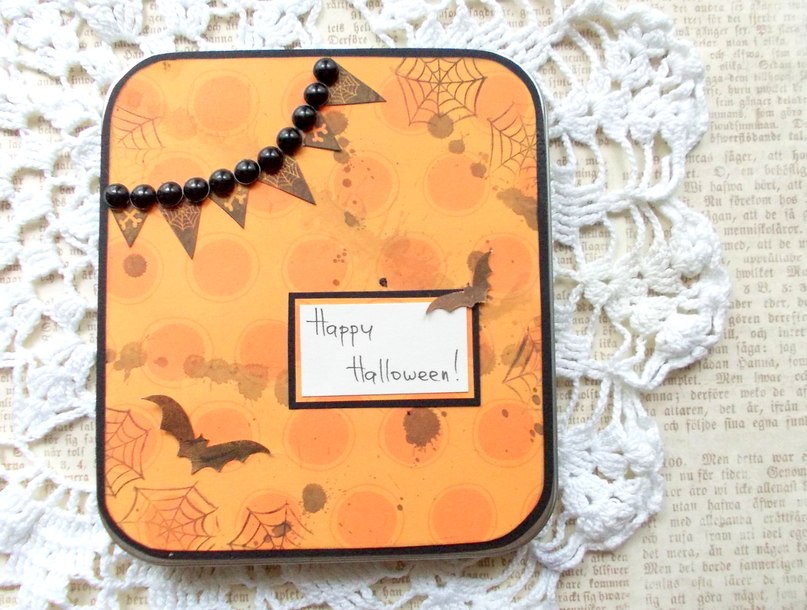
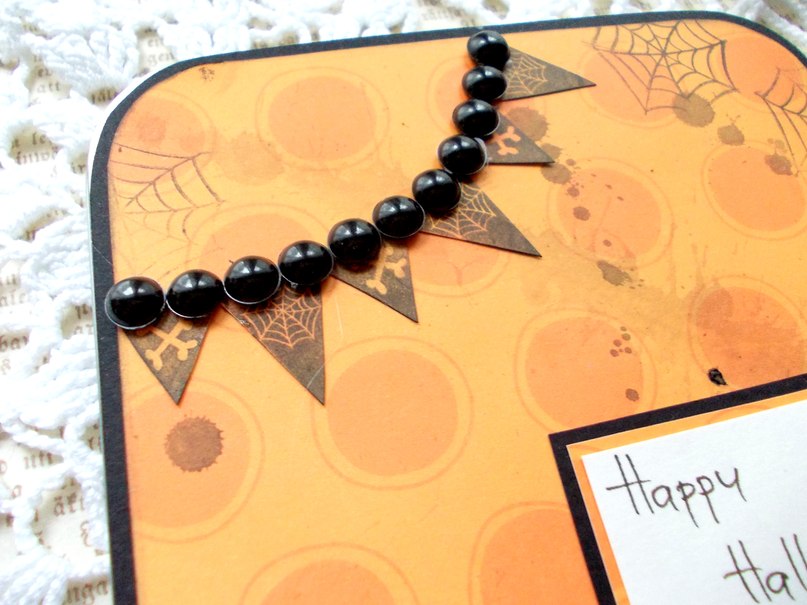
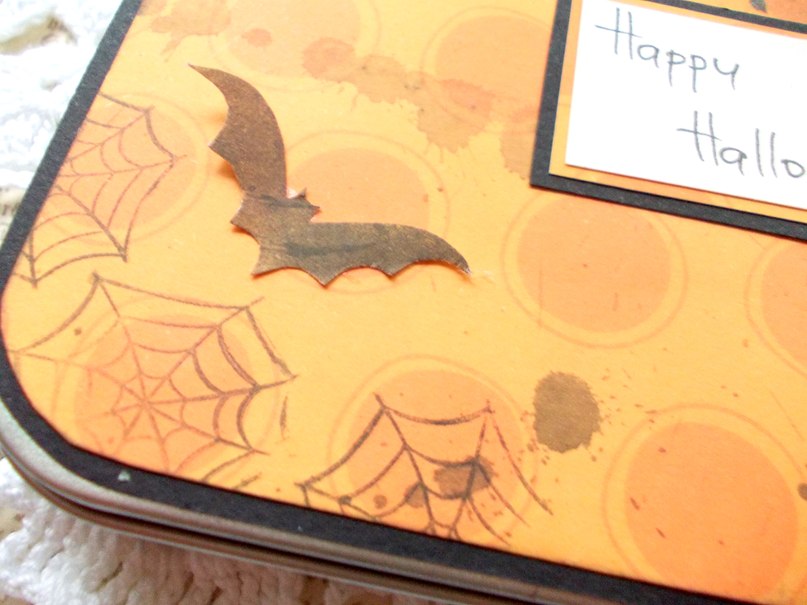
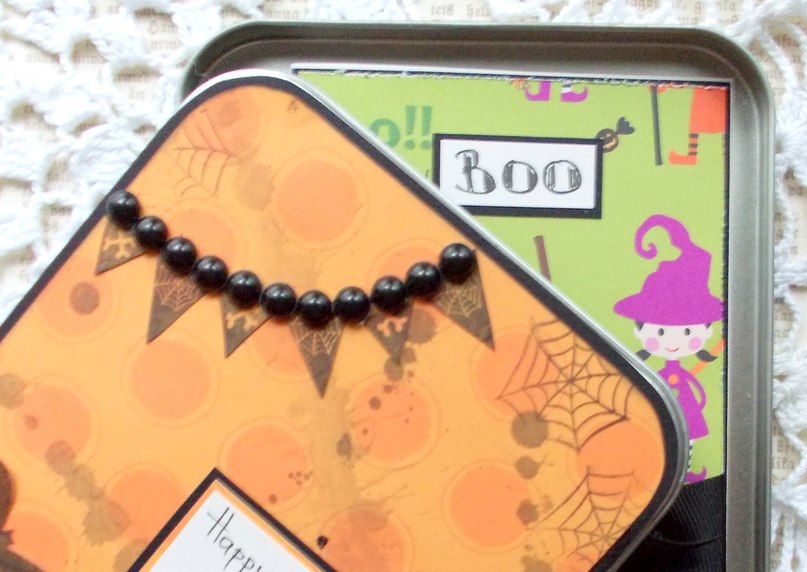
I decorated the lid with paper and black paper for pastels. Did a black blob with paint.Stamped flags  and bats and cut them out.Glued all.Then decorated flags with marbles and stamped spiderweb on the background paper, thus completing the entire composition

Image

Image

Image

Than I made a card. With paper and black paper for pastels. Decorated card with black bow and sign "BOO")
Image

Image


PRODUCTS USED
gel-a-tins Witchy Poo set
gel-a-tins box from stamps set
Paper My Little Shoebox
marbles
ribbon
black acrylic paint

Have a great crafting!
Tanya P.
www.diaryofcards.blogspot.com

Saturday, September 22, 2012

Just a Note

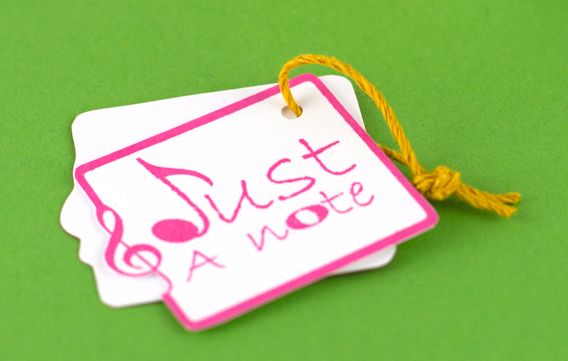
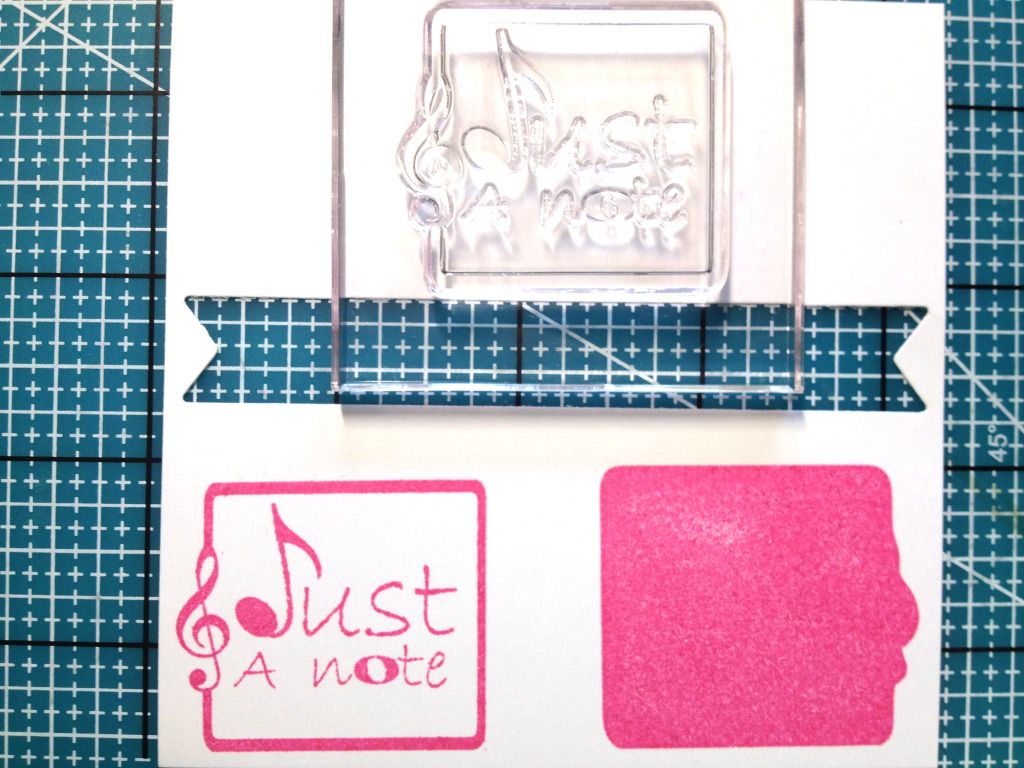
Hello stampers, Nina here with just a note ;)

Image

I used both front and back of the Just A Note stamp:

Image

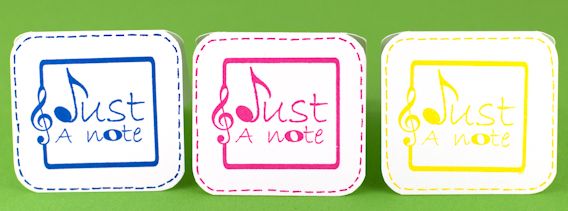
Cut around the stamped image, stack them, punch a hole in the corner, thread it and you are done!

Image

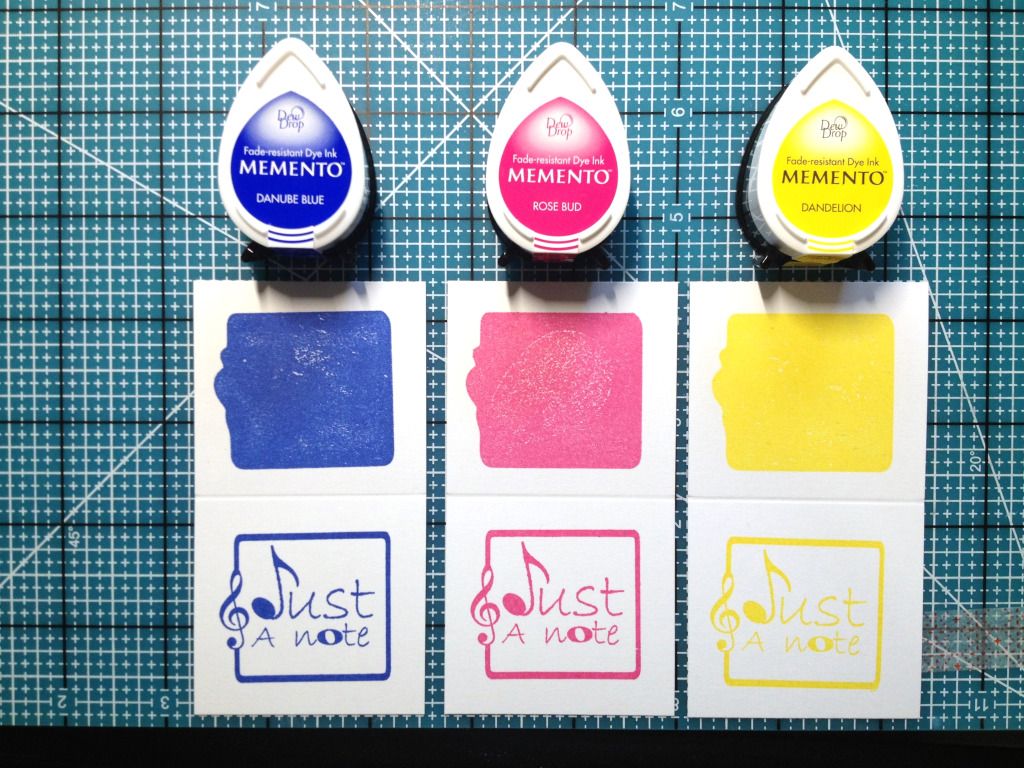
I was inspired by Anita's Doodle Flowers card to use the back of a stamp for the solid image. I could not stop here so I made another note card set:

Image

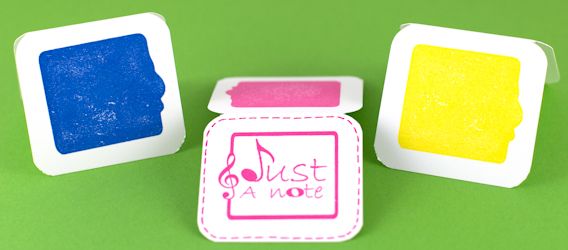
This time the solid images were stamped on the back of the card:

Image

They are just cute! I want to make one in every color ink I have!

Image

I hope that you are inspired to create some mini note cards using the Gelly Jrs. Happy Crafting!

Friday, September 21, 2012

An Early Halloween Card!

Image

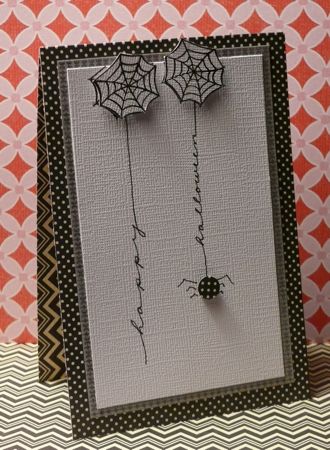
Hello, everyone. Here is another early halloween card. I used the spider web stamp from the Witchy Poo Collection.

Simply stamp the spider web twice at the top of a white piece of cardstock. Stamp the web two more times, cut out, and adhere with foam adhesive squares. This just gives some interest and dimension.

Use a thin, black marker to draw the web coming down and the sentiment. I actually penciled it in first to make sure I was happy with the way it looked. A small, circle punch is perfect to make the spider's body.

Use black patterned paper to complete the card. A simple statement that hopefully will make the recipient smile and not squirm!
-Kim F.

Supplies:
Gel-a-tins Witchy Poo Collection
Black ink by Ranger
Patterned paper by Jillibean and Little Yellow Bicycle
Black Marker
White Cardstock


Small Circle Punch by Recollections

Thursday, September 20, 2012

A Cherry On Top

I can't get enough of this 'Sweet Cakes' clear stamp set from gel-a-tins!. There are so many combinations you can make with these twelve stamps that you will never be stuck for inspiration. I wanted to add a little lift to this card so I used the stamps to make a decoupage cupcake. Yummy!

Image

Products Used

Gel a tins 'Sweet Cakes' Clear Stamps
Docrafts 'The Little Cake Shoppe Collection' Papers
Twinery 'Pink Sorbet'
Cherry Charm from Stock
Staz-On Black Ink Pad
Xyron 9" Creative Station
Xyron Mega Runner
Foam Pads
Letraset Promarkers
Anitas glitter square stickers

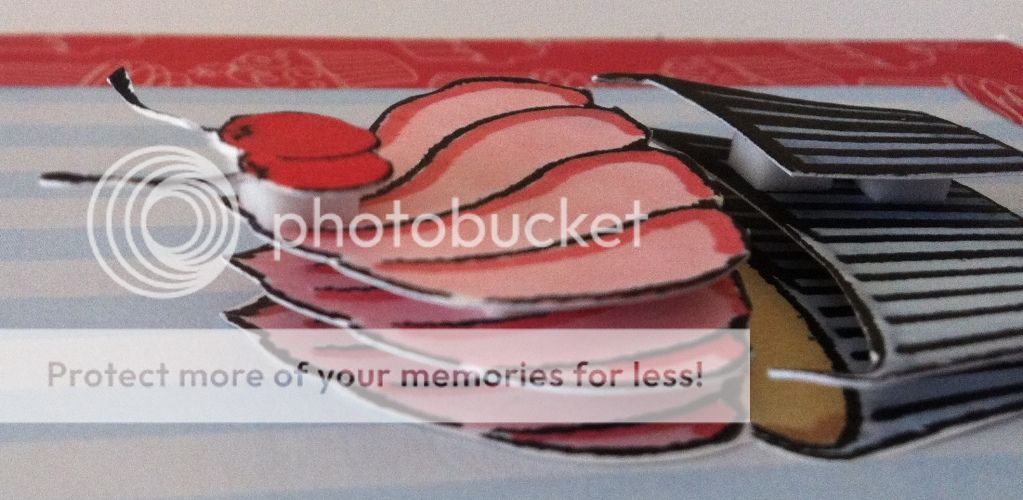
To create the decoupage cupcake I stamped the image three times on white card and coloured in with the Letraset Promarkers and I placed the first image on top of the cut and layered base paper that was stuck down after running through the Xyron 9" Creative Station

Image

Then gradually I added my layers to achieve the decoupage effect.

Image

Image

Image

I added the glitter square around the cupcake and I then cut out the 'cherry on top' topper and threaded the twiner twine through the bottom before sticking to the right corner of the blue layer of paper.

Image

Then I tied the cherry to the bottom of the twine and held in place with a foam pad.

Image

I fan folded a strip of contrasting green paper and applied to the card using the Xyron Mega Runner.

Image.

And that's It!. Isn't it sweet!.

Wednesday, September 19, 2012

Hallo Scream!

I cannot wait for Halloween! Just a little more than one month! Yippee! So meanwhile, let's get in the Halloween mood by making a card with Gel-a-tins "Witchy Poo" Stamp set! This set is so much fun to work with!

Image

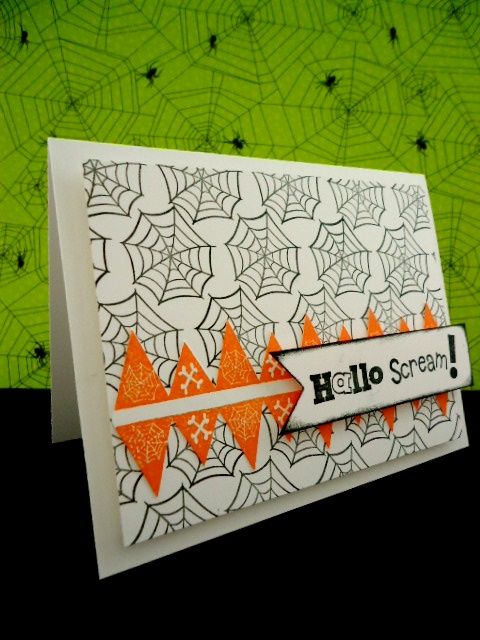
I started with the background of the card. The spider web stamp was perfect for just that. To form the background, stamp the image over and over to cover the area.

Image

The next stamp was to use the banner image included in the Witchy Poo Set two times to make detail that goes across the bottom. I fussy-cut the banner out and adhered to the card.

Image

The last step is to add the sentiment onto a banner and add to the card.
This card includes lots of layers and to make them pop, I used foam dots to the layers.


Thank you for stopping by today! Hope you find some time to create! We would love to see what creations you make using Gel-a-tins!

Have a great day!

Jessi

Tuesday, September 18, 2012

Sweet Cakes Gift Bag

Hi everyone! Are you ready for some more Gel-à-Tins fun?!

I'm here playing with the Sweet Cakes set again! This set is so much fun!!

Today I'm showcasing all the little images from the set. These little images deserve some love too! So I decided to use them to embellish a gift bag I created:

Image

What do you think? Isn't it the cutest?!

I started by die-cutting the bag from cream cardstock and stamping the small images onto the bag bodies.

Image

Here's a little tip when creating a repetitive pattern with small stamps: place all your stamps on one block to make the whole process easier! This also means all your images will always be in the same configuration which is perfect for pattern making!

Image

I then coloured the images with Copic Markers, choosing to use a colour scheme of red, green, pink and cream. This gives it a nice Cath Kidson look I think!

Image

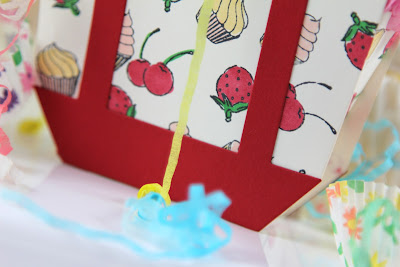
Finally I assembled the little bag, adding some red cardstock handles to tie in with my colour scheme.

Image

All I needed to do then was decide what fun little gift to place in it! This little bag would be perfect for tucking in some handmade chocolates or sweet treats!


Supplies Used:

Gel-à-Tins:
Sweet Cakes stamp set

Other:
Memento Tuxedo Black ink (Tsukineko)
Vintage Cream cardstock, Pure Poppy cardstock (Papertrey Ink)
Copic Markers
Favor It Box 4 die (Papertrey Ink)
Scor-Tape

I'd love to know what you think of this project. Thanks for stopping by - go eat some cupcakes!!

Monday, September 17, 2012

Damask and a Flutterby

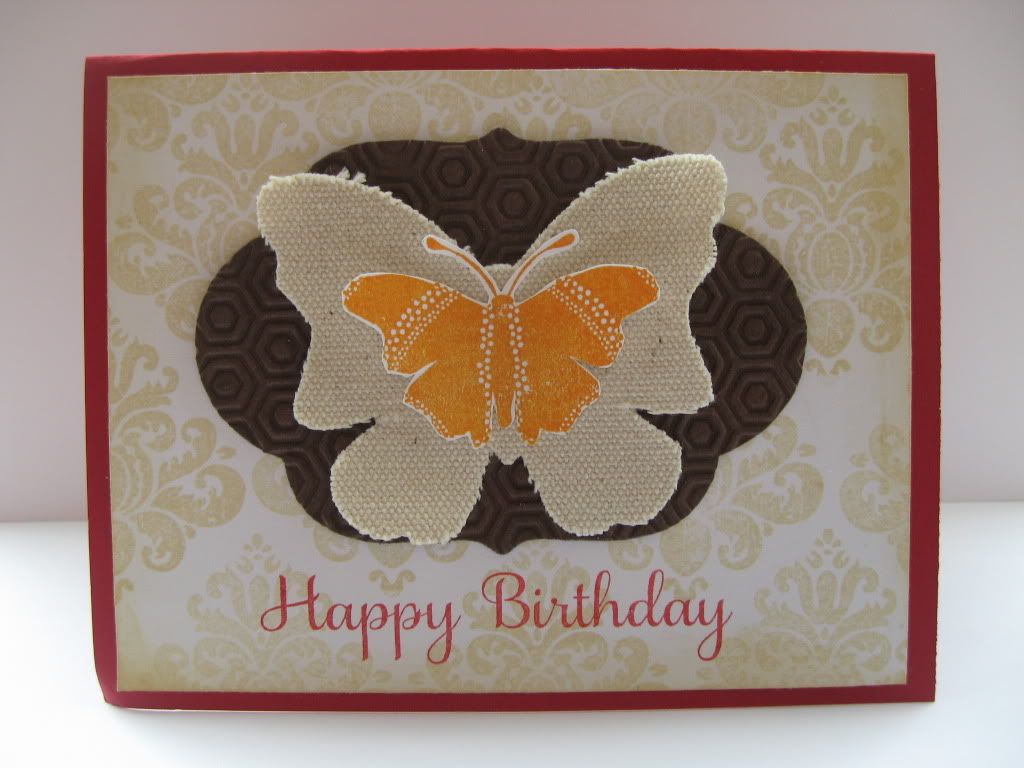
Hello it's Anita here and today I have a fall card to share! I love the colors of fall, even though I don't like what it brings, back to school and cooler weather! Today I am playing with two Gel a Tins stamps the Damask set and a Gelly Jr Stamp Flutterby!

Image

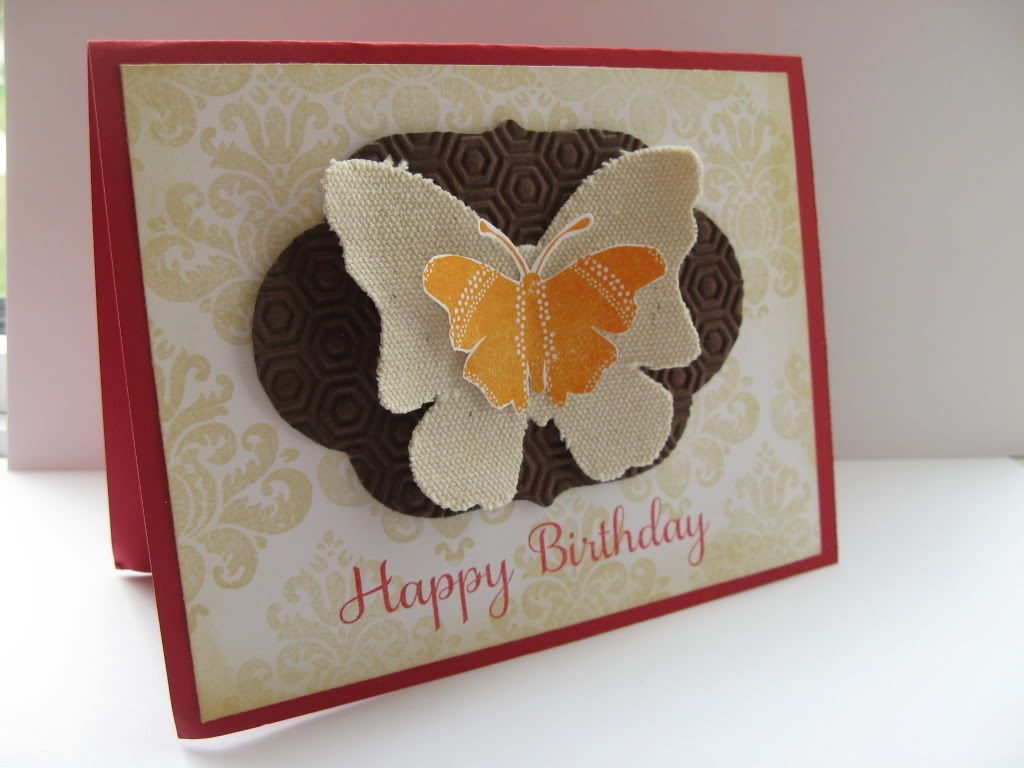
I stamped the Flutterby in orange ink and put behind it a canvas butterfly. I love the texture of canvas! I also added a die cut and embossed it! I love butterflies so much and try to use them in any season! For the background I stamped with linen ink one of the damask stamps repeatedly. I love the damask set because it's a great background stamp or a great main stamp! Here is a closeup of the butterfly:

Image

And here is a sideview:

Image

Hope you've been inspired today!

Supplies used:

Damask set by Gelatins!
Flutterby by Gelly Jr
sentiment by Hero Arts
Spiced marmalade, antique linen, red barn by ranger
canvas butterfly by maya road
die cut by papertry ink
Embossing folder by spellbinders

Sunday, September 16, 2012

Christmas Tag Trio

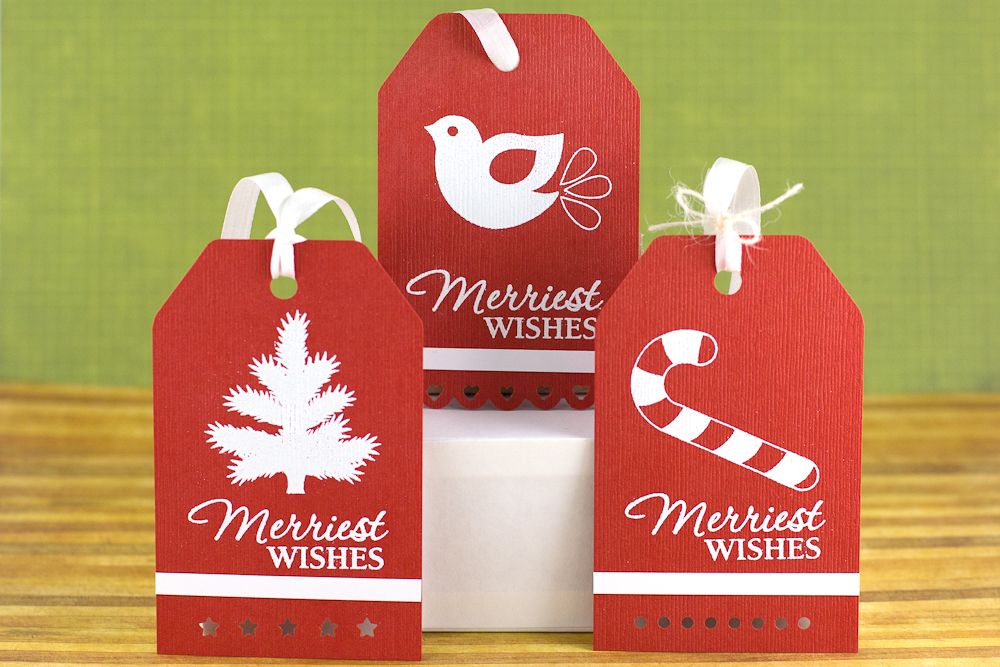
Hello stampers, Nina here again with another Christmas project! A simple and cute tag trio!

Image

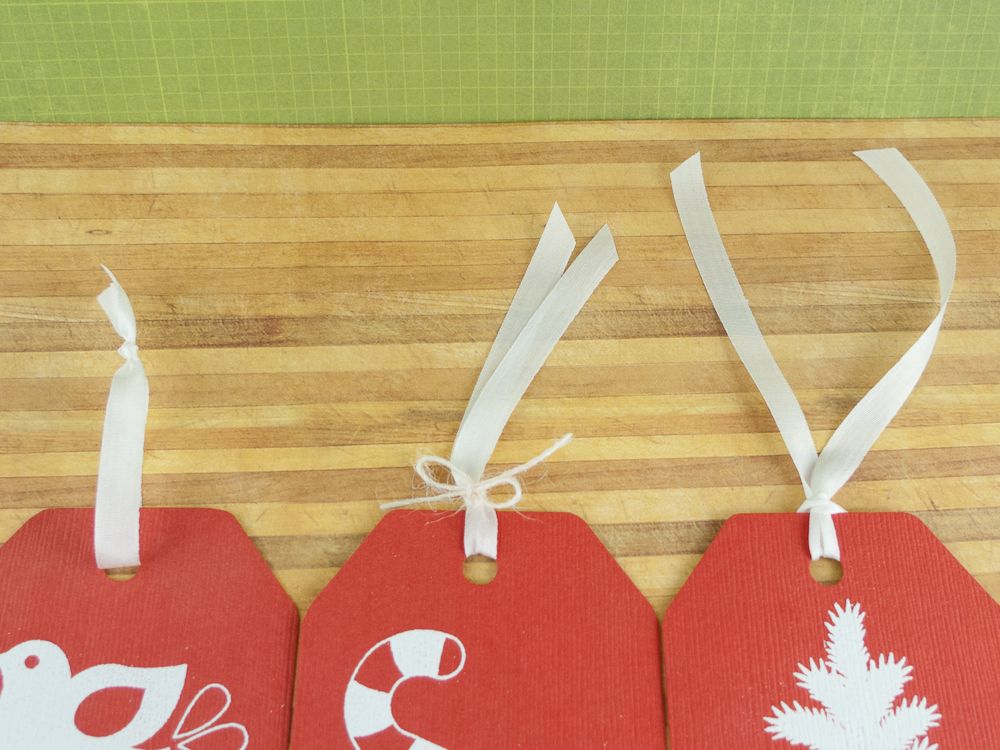
Gelly Jr's are so beautiful when embossed! Try it yourself! I tried 3 ways to tie the ribbon, which one is your favorite?

Image

Supples:

Gelatins Gelly Jr's: Winter's Pine, Peace Birdie and Santa's Candy Cane

Thank you for stopping by. Happy Crafting!

Saturday, September 15, 2012

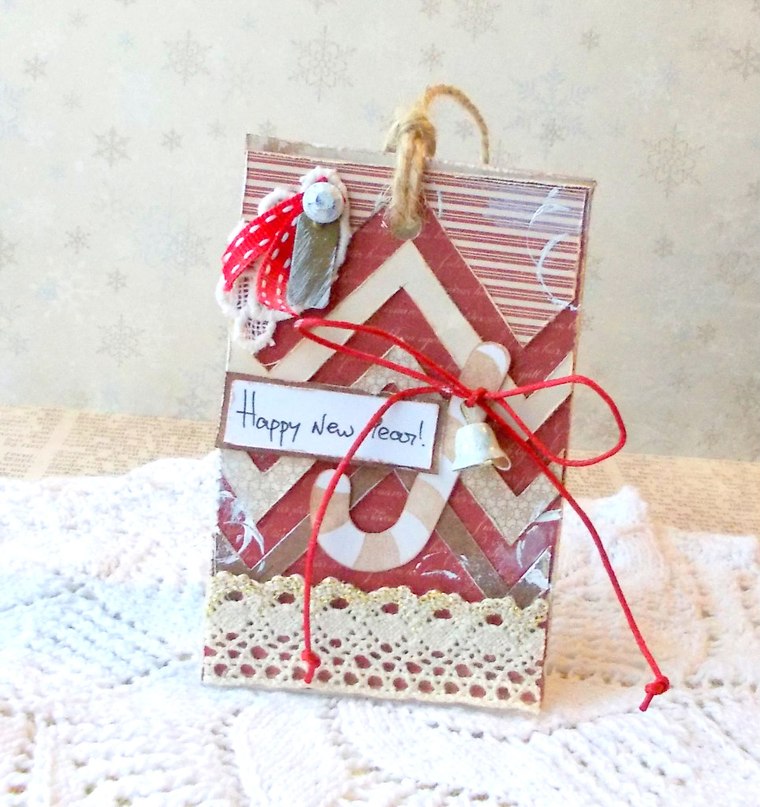
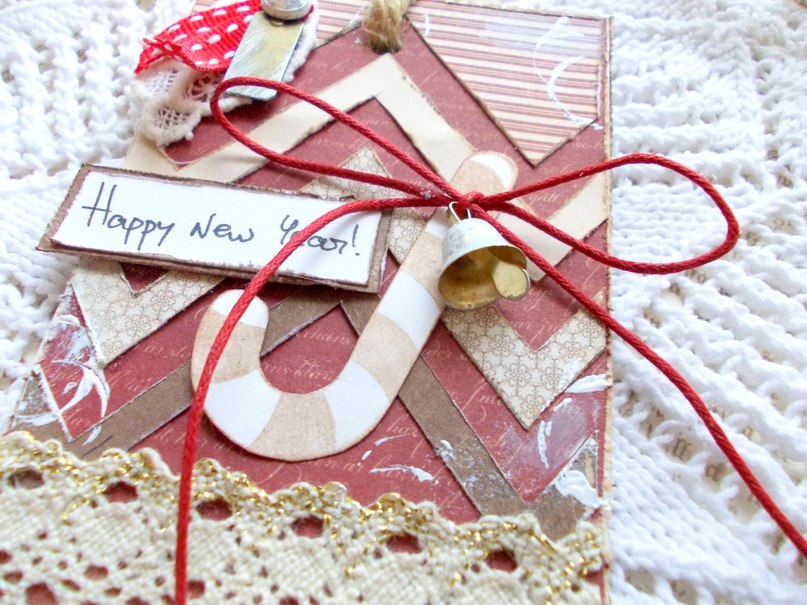
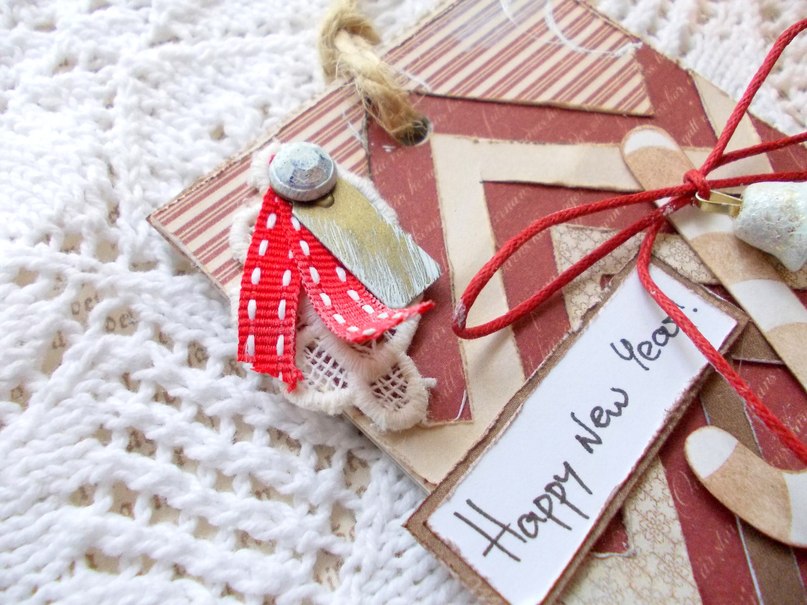
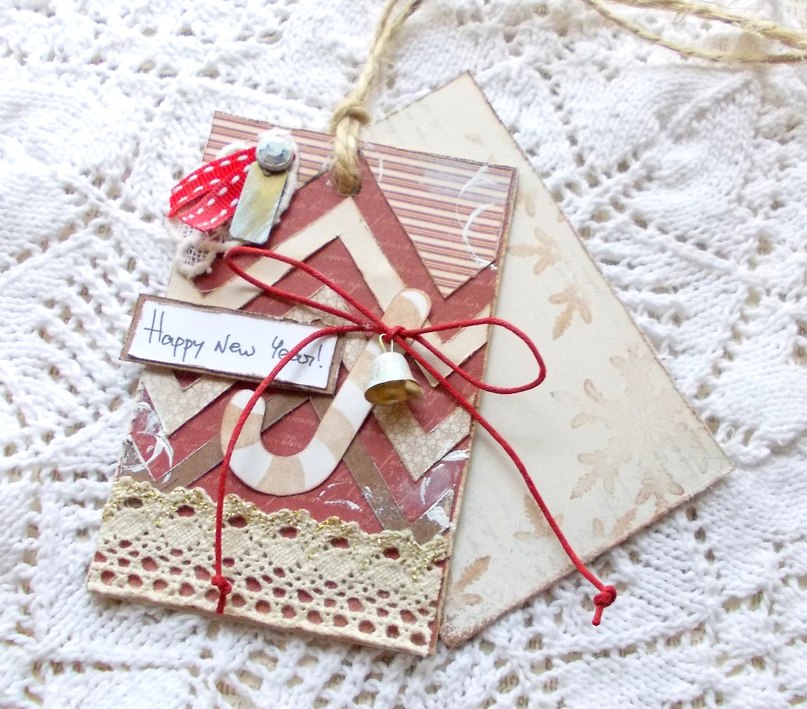
A Happy New Year Card

Hi dear crafters!
Today I have for you a new year`s card.
At first I chose a backgrond for my card. Then cut few strips as chevron.  Lower edge of card decorated with lace. Then took a stamp and decorated it with bell and bow out of waxed cord. Then graced the top left corner with tape, lace, anchors and brads. The latest step was the decorating of the card with white acrylic paint.I took a few strokes with a sponge in different places and stamps a lid from a tube of paint)Than I took the second part of card. Decorated paper with gely`s stamp snowflake and fixed two parts of card with packthread.

Image

Image

Image

Image

PRODUCTS USED
gel-a-tins stamps santa`s candy cane
gel-a-tins stamps snowflake
Pion designs paper
Prima Marketing ink
white acrylic paint
brads
7 Gypsies Photo turns: tag turn
vintage lace


Have a great crafting!
Tanya P.
http://www.diaryofcards.blogspot.com

Thursday, September 13, 2012

Celebrate Halloween

The weather here is getting a bit cooler. Autumn is approaching. Before we know it, the first of the holidays will be upon us. The stamp set called, "Witchy Poo" is perfect to celebrate spooky but fun Halloween!
Image

This stamp set includes some witch imagery, as well as bats, bones, and a banner. I decided to use part of the stamp banner and the bats to create this card.

To begin, make a card base from orange cardstock. Stamp the banner and bats in black ink on white cardstock. Cut them out. Use individual flags from the stamped banner and triangles cut from patterned paper to make this focal point embellishment. Add some ribbons, knotted ribbon, and bats for additional texture.

The sentiment can be stamped or handwritten (as I have done here.) Use a thin black marker to create some detail around the border of the card.

Don't be "afraid" to make this banner as elaborate as you wish. It definitely is too cute to spook!
Thank you for checking out the blog today.
-Kim F.

Supplies:
Gel-a-tins Witchy Poo Collection
Adirondack Black Ink by Ranger
Patterned Paper by Jillibean Soup
Cardstock
Rick Rack
Ribbon